
Introduction of peel and stick tile
Peel-and-stick tile offers a transformative, budget-friendly way to upgrade floors, walls, and backsplashes—even renters can do it without risking their deposit. What peel-and-stick tile is, why it’s a DIY favorite, how to install it like a pro, common pitfalls, care tips, and more. By the end, you’ll feel confident deciding if it’s right for your space and how to make it look professionally done.
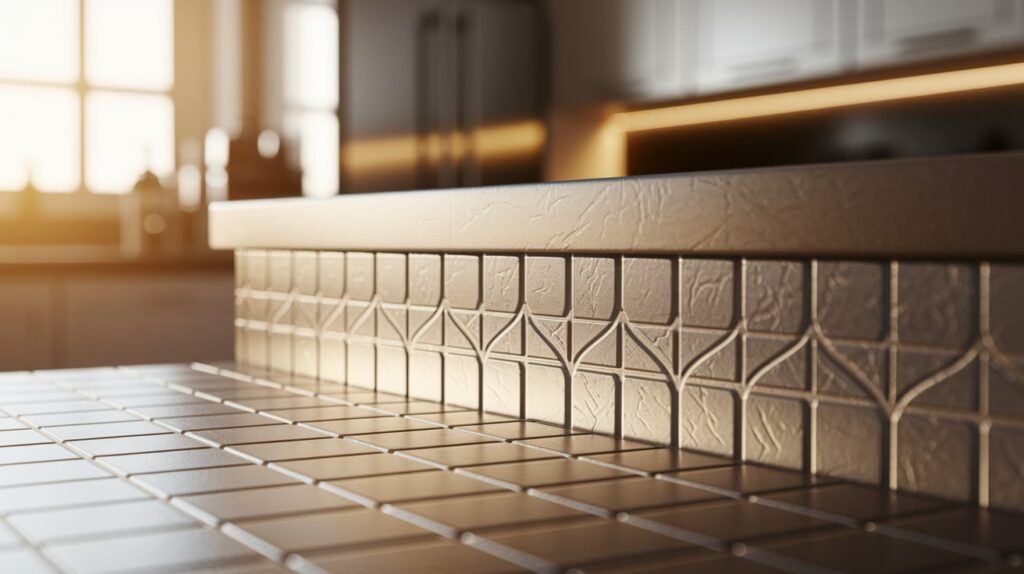
What is peel and stick tile?
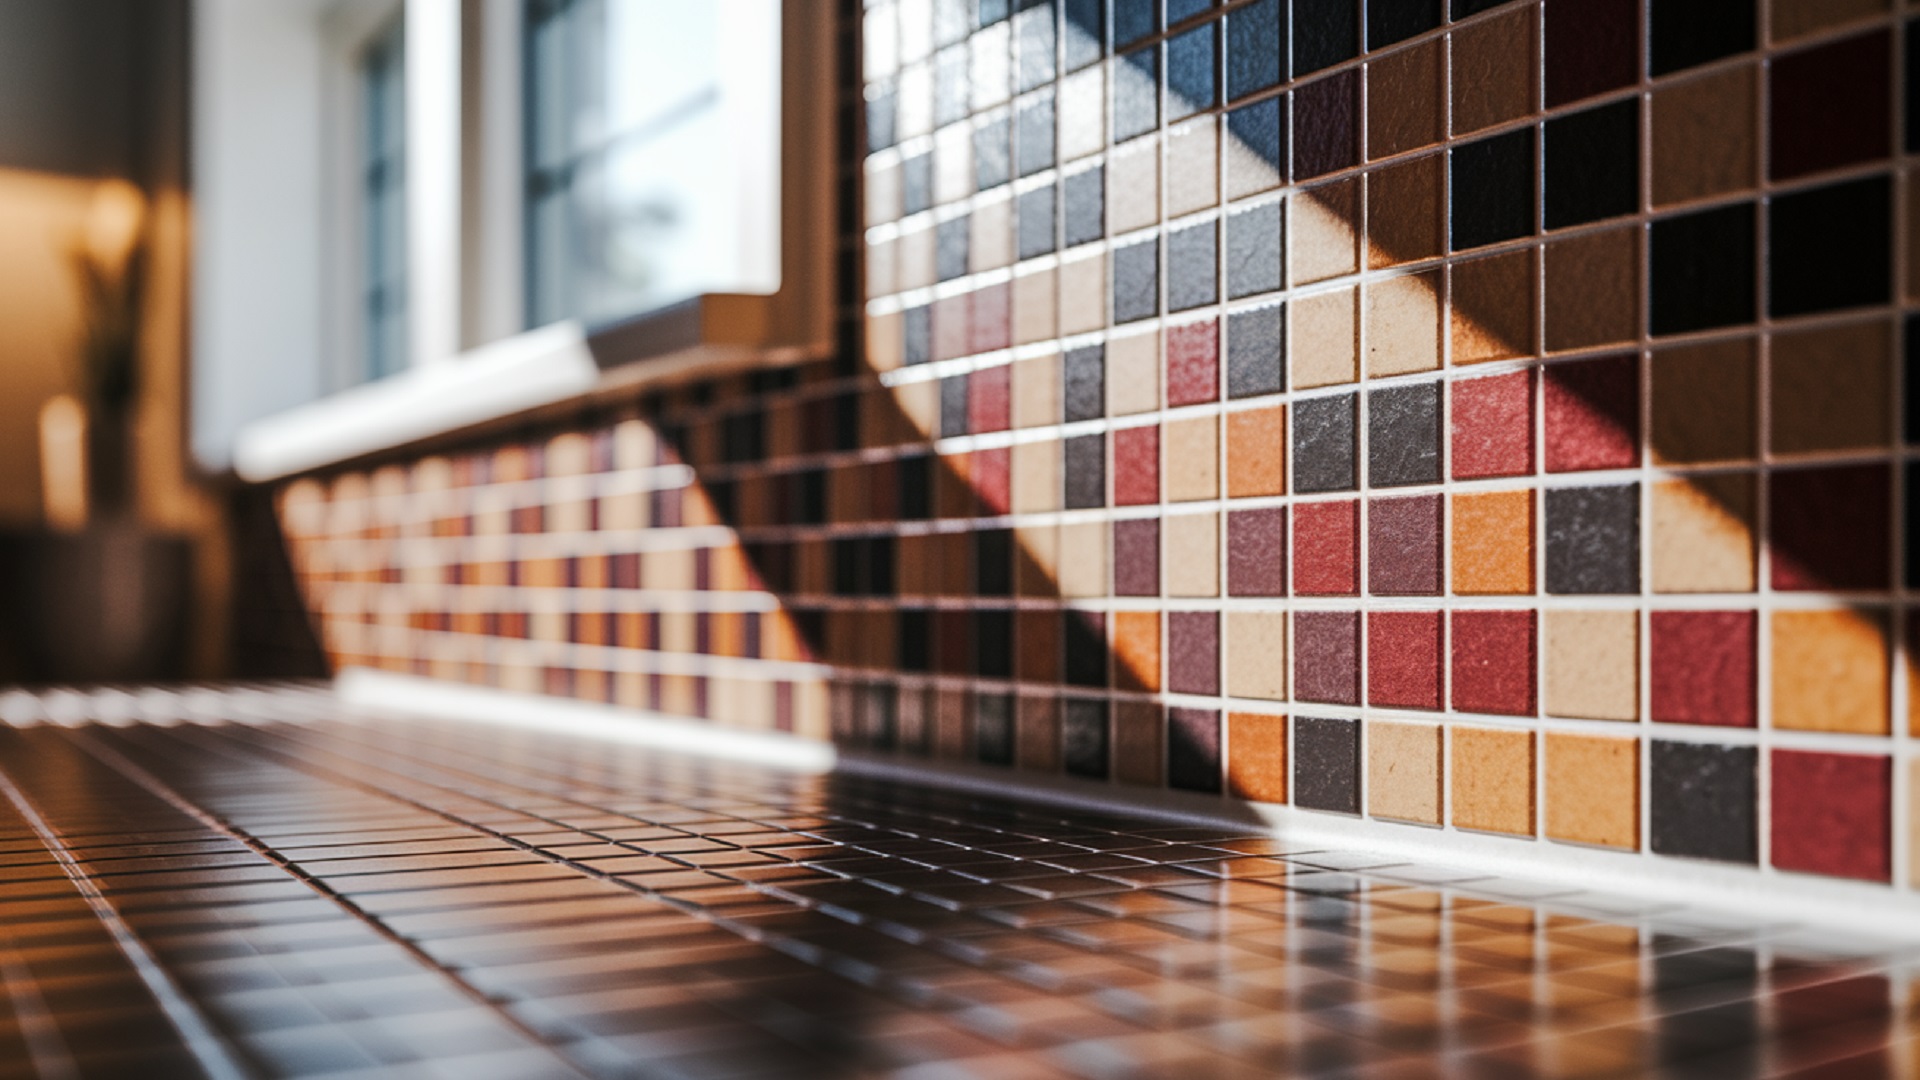
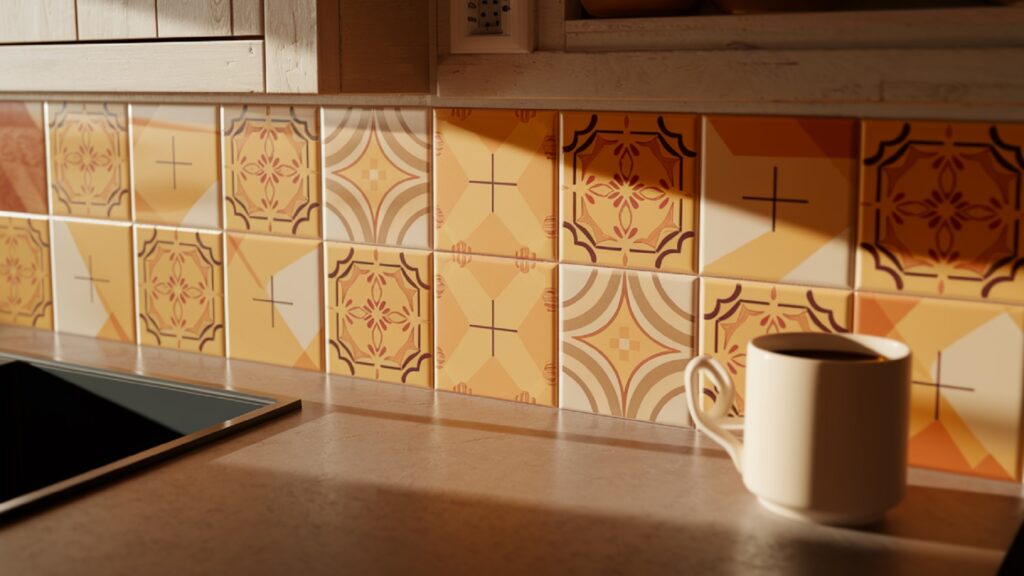
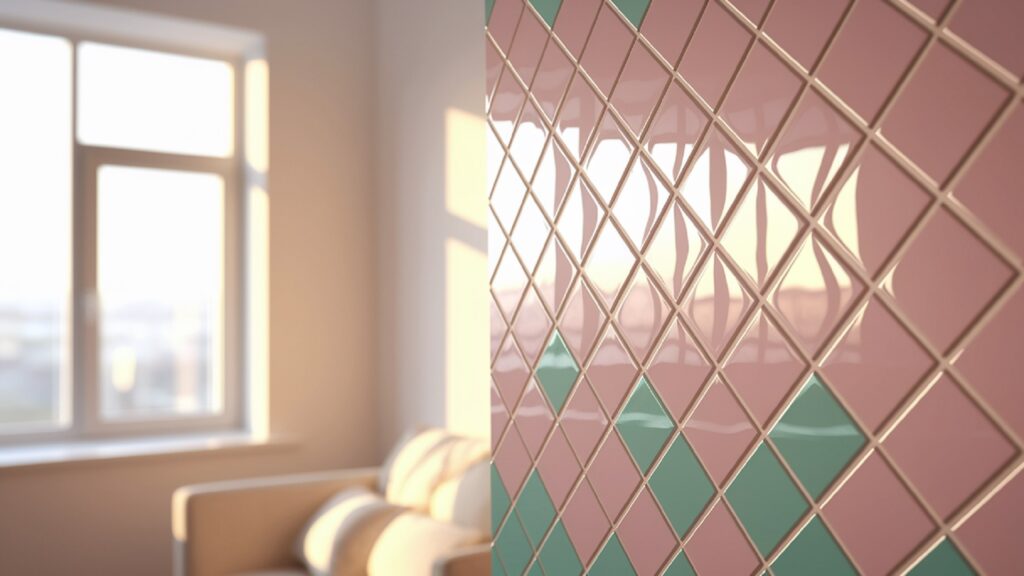
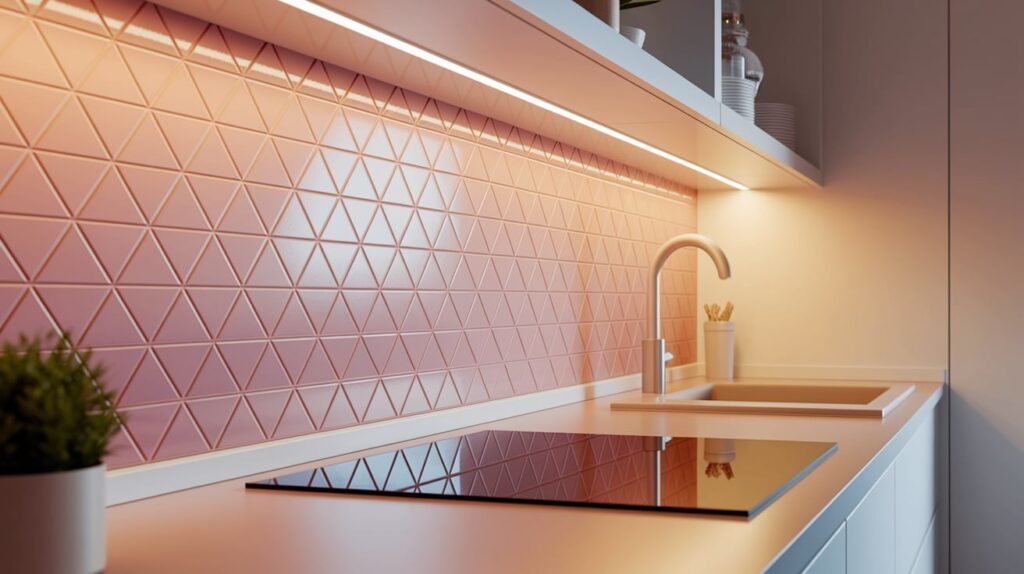
Peel-and-stick tile refers to decorative sheets or tiles—commonly vinyl, laminate, metal, or stone-look—complete with adhesive backing. Simply peel off the release liner and firmly press the tile onto a prepared surface. No mortar, grout, or specialized labor is required. Originally popular for temporry fixes, peel-and-stick has evolved with ever-improving materials and adhesivs, now rivaling traditional tile in aesthetics and durability.
- Materials & finishes:
- Vinyl with textured faux stone or wood grain
- Laminate styles with peel-resistant wear layers
- Metal-look tiles mimicking copper, stainless, or tin
- Real stone veneer backed with peel-and-stick adhesive
Manufacturers like Smart Tiles, NuWallpaper, and FloorPops make designs from hexagon shapes to subway styles. Surface compatibility includes painted drywall, sealed concrete, existing ceramic tile, and even wood—although some rough surfaces may require smoothing or underlaymnt.
Subheading: A brief history
- Early peel-and-stick products appeared in craft stores in the 1990s.
- Through the 2000s, improvements in adhesives and vinyl technologis made application more seamless.
- The 2010s saw a DIY boom—people embraced it for quick, renter-friendly upgrades.
- By 2025, peel-and-stick tile is viable for longer-term home improvemnt, even in light-moisture areas.
Benefits of peel and stick tile
Moreover, peel and stick tile offers a compelling combination of benefits:
1. Easy installation
- No need for mortar, grout, or backer board
- Can be completed in hours—even by beginners
- Minimal tools: utility knife, straight edge, roller
2. Quick aesthetic transformation
- Instantly changes room style—from bland to bold
- Ideal for rapid upgrades before holidays, open houses, or events
3. Cost-effective
- Vinyl peel-and-stick often runs $1–$5 per square foot
- Contrast that with $7–$20 for ceramic or porcelain tile—plus labor
4. Rental and apartment friendly
- Most peel and stick tiles are removable without damage
- Landlords often approve décor changes that don’t ruin walls/floors
5. Design versatility
- From geometric patterns to marble-look tiles
- Reinforced vinyl, embossed effects, and 3D textures exist
- Some brands offer coordinating trim, edgers, and corner pieces
6. Low maintenance
- No grout to clean or reseal
- Wipeable surfaces resist routine messes
7. Temporary or permanent
- Certain peel-and-stick innovations now offer water- and temperatre-resistant adhesives
- You can opt for temporary options (for staging) or choose semi-permanent/peel-away-with-heat products
How to Use peel and stick tile Effectively
Let’s explore the step-by-step process and best practices when working with peel and stick tile:
Preparation
- Inspect the surface:
Ensure the wall or floor is flat, dry, clean, and sealed. Patch holes with joint compound. - Clean thoroughly:
Use a mild detergent like Dawn, rinse, and let dry 24 hours. Degrease kitchen areas with TSP. - Prime porous surfaces:
Unfinished drywall or wood benefits from a primer/sealer to prevent absorption and ensure adhesion. - Temperature conditions:
Manufacturers recommend installing between 50°F–85°F (10°C–29°C). Avoid hot direct sun or cold drafts.
Layout & planning
- Measure accurately:
Map out the area and calculate total square footage plus 10% extra for cuts and waste. - Love your grid line:
Snap chalk lines to center your layout—not at edges. Ensures symmetry. - Mock layouts:
Dry-lay a row along the center to preview pattern continuity and avoid awkwrd slivers at edges. - Corner and edge strategies:
Plan how tiles wrap around corners—corner cuts, butt joints, or continuing pattern.
Cutting
- Scoring:
Use a sharp utility blade and straight edge; press firmly and snap along the line. - Curves & cutouts:
Use tin snips for rounded shapes (outlets, pipes). - Finishing edges:
Epoxy filler or edge trim gives results like professionally grouted joints.
Installation
- Peel the backing:
Start at one corner of the release liner. Avoid touching the adhesive surface. - Align carefully:
Press the top edge into place, aligning the tile alng chalk lines. - Apply pressure:
Use a 3–4 lb vinyl roller—roll vertically, horizontally, then diagonally to eliminate air bubbls. - Fit around obstacles:
Use spacers to maintain grout gap. Heat edges with a hairdryer to shape around irregularitis. - Seal if needed:
For splash zones, apply a clear silicone bead along edges.
Aftercare
- Let tiles settle 48 hours before placing heavy furniture
- Clean with microfiber mop or damp cloth—avoid harsh chemicals
- To remove, use a hair dryer and pull gently to minimize surface damage
Case Studies & Real-Life Transformations
To better understand how peel and stick tile performs in real homes, let’s look at three case studies from DIY enthusiasts and renters who transformd their spaces on a budget.
1. Rental Bathroom Backsplash Refresh
Before: Sarah, a tenant in a downtown studio, had a dull white bathroom with peeling paint behind the sink.
Problem: Her landlord prohibited permanent renovations but allowed cosmetic improvements as long as they were removable.
Solution: She installed gray hexagon peel and stick tile sheets designed for wet zones.
Result: The project took just 2 hours. She reported no issues over 12 months, and the tiles peeled off cleanly during her move-out.
2. Kitchen Backsplash Upgrade in a Condo
Before: Jamal owned a 1990s condo with outdated beige ceramic tiles behind the stove.
Problem: The grout was cracked, stained, and impossibl to clean.
Solution: He used heat-resistant peel and stick subway tiles with faux marble finish.
Steps Taken:
- Cleaned the ceramic thoroughly
- Primed it with a bonding primer
- Installed tiles using a roller
- Applied silicone along the seams near the stove
Result: Visitors assumed it was real marble. Total cost: under $150.
3. Basement Floor Makeover
Before: The Morris family had a dark, unfinished basement with a concrete floor that tracked dust.
Problem: Carpeting was too expensive, and laminate could warp.
Solution: They laid wood-look peel and stick vinyl planks over seald concrete.
Steps Taken:
- Sealed the floor with a moisture barrier
- Measured and cut planks precisely
- Used a hand roller for firm adhesion
Result: A warm, finished look that cost 60% less than wood flooring. After two years, it still looks brand new.
Tools & Materials Checklist
Using the right tools makes your peel and stick tile installation faster, cleaner, and more accurate.
Essential Tools:
- Measuring tape: Ensures square footage accuracy
- Chalk line: Helps align tiles to the room’s center
- Utility knife: Sharp blade for scoring and snaping tiles
- Metal ruler or straight edge: Guides accurate cuts
- Level: Prevents slanted installations
- Vinyl floor roller (3–4 lbs): Presses tiles firmly to remove bubbles
- Silicone caulk: Seals edges around water zones
- Hair dryer or heat gun: Helps soften adhesive for removal or wrapping around corners
- Cleaning supplies: TSP or mild detergent, microfiber cloths
Optional but Helpful:
- Kneepads: Save your knees during floor installs
- Pencil & notepad: For marking cuts and keeping track of measurements
- Grout (if applicable): Some peel and stick styles simulate real grout with sandd vinyl paste
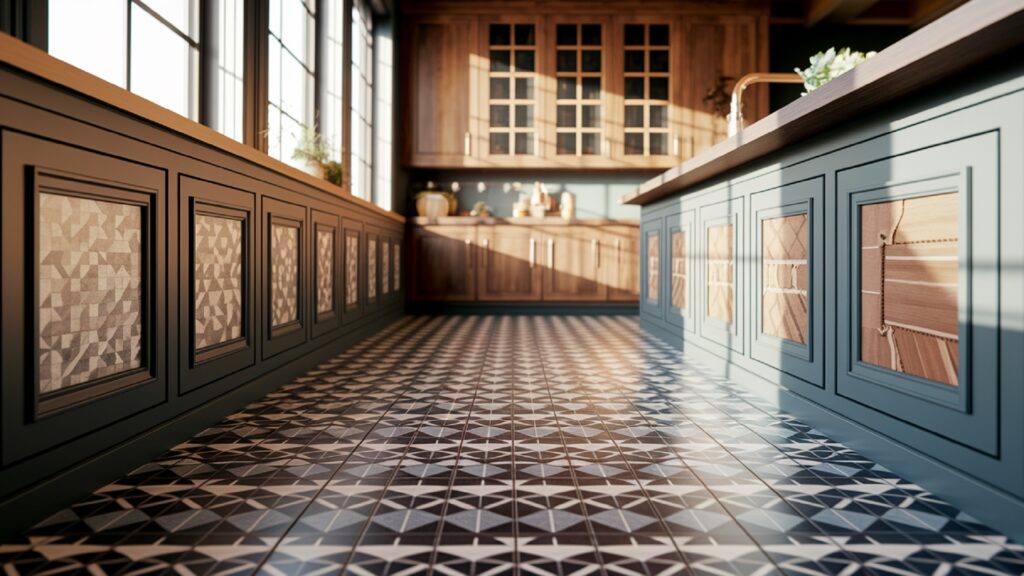
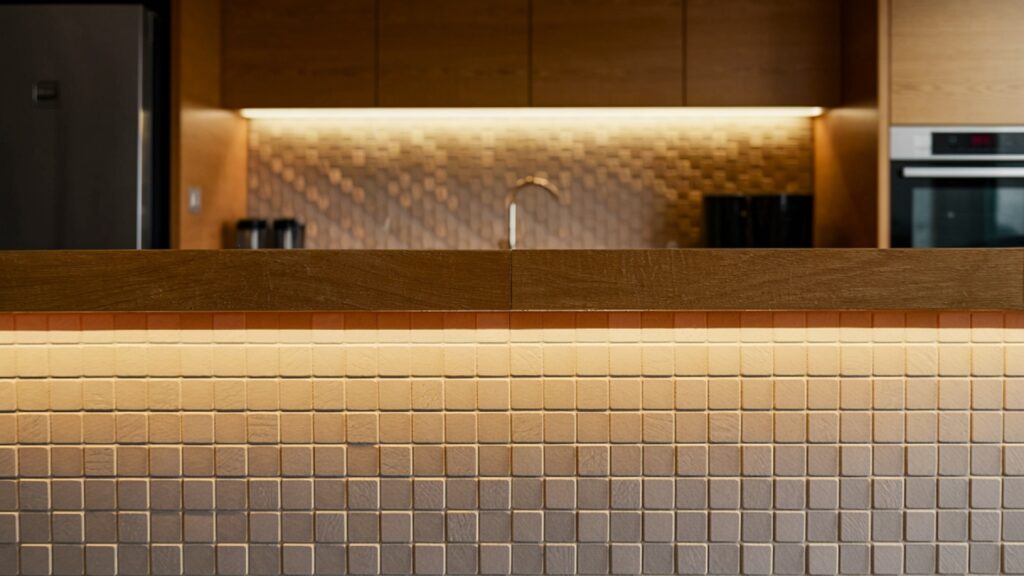
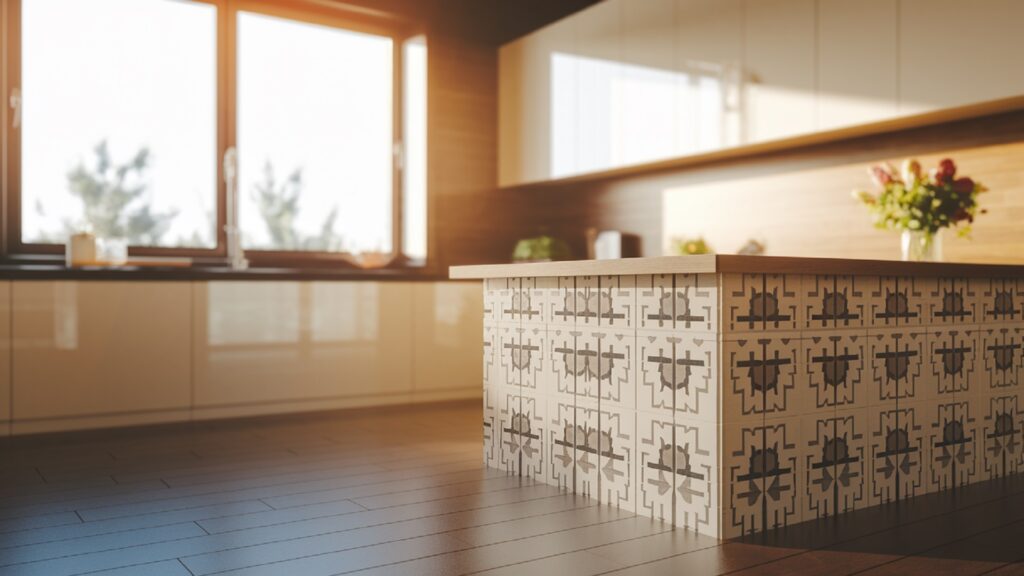
Design Trends: Peel and Stick Tile
As interior design evolves, so do the styles and applications of peel and stick tile. These trends are taking over:
1. Geometric Patterns
Hexagons, Moroccan mosaics, and 3D cubes are in demand. These patterns add energy and modern edge to kitchens and bathrooms.
2. Stone-Look Finishes
Faux marble, travertine, and slate bring luxury without the price. Matte and honed texturs are becoming more popular than glossy ones.
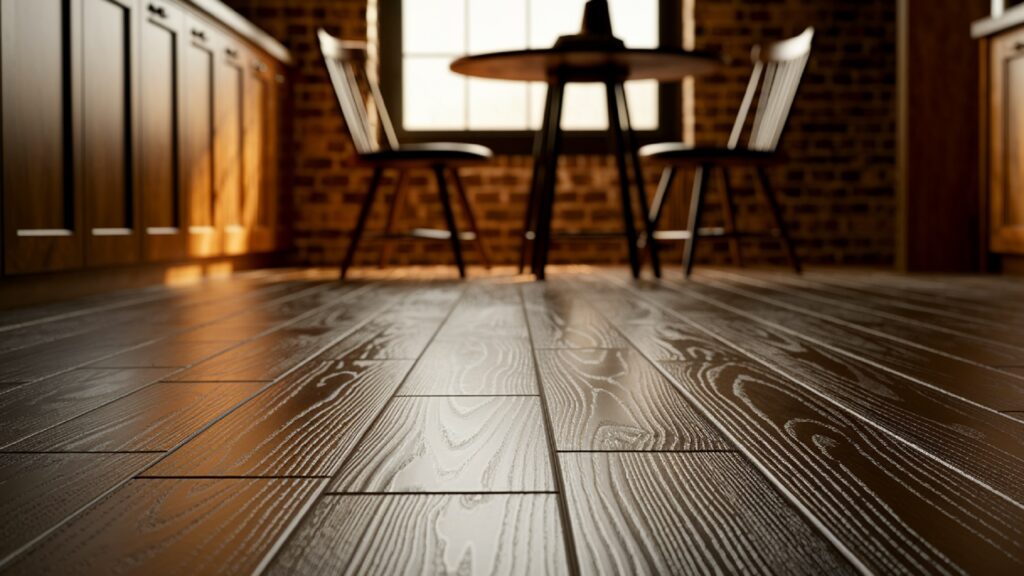
3. Wood-Look Planks
Rustic, weathered finishes with gray or natural oak tones dominate living rooms, offices, and even bathrooms—thanks to waterproof vinyl options.
4. Bold Color Accents
Expect to see navy, emerald green, and burnt orange tiles used as statemnt walls or mixed into neutral patterns for personality.
5. Metallic Accents
Brushed gold, copper, and silver peel and stick tiles appear in modern kitchens or Art Deco bathrooms—some even come with mirrored finishes for glam vibes.
6. Mix and Match
Homeowners now combine multiple tile types: e.g., wood-look flooring with stone-look backsplashes for texture contrast.
These trends make it easier to customize any space to reflect your taste, while sticking to a practical, peel-and-stick solution.
Troubleshooting Guide: Fixing Common Issues
Even a perfect install of peel and stick tile might need small fixes later. Here’s how to tackle common problems:
Problem: Tiles are lifting at the corners
Solution:
- Press with a warm cloth or hair dryer
- Add a dab of construction adhesive or tile tape
- Re-roll the area and weight it overnight
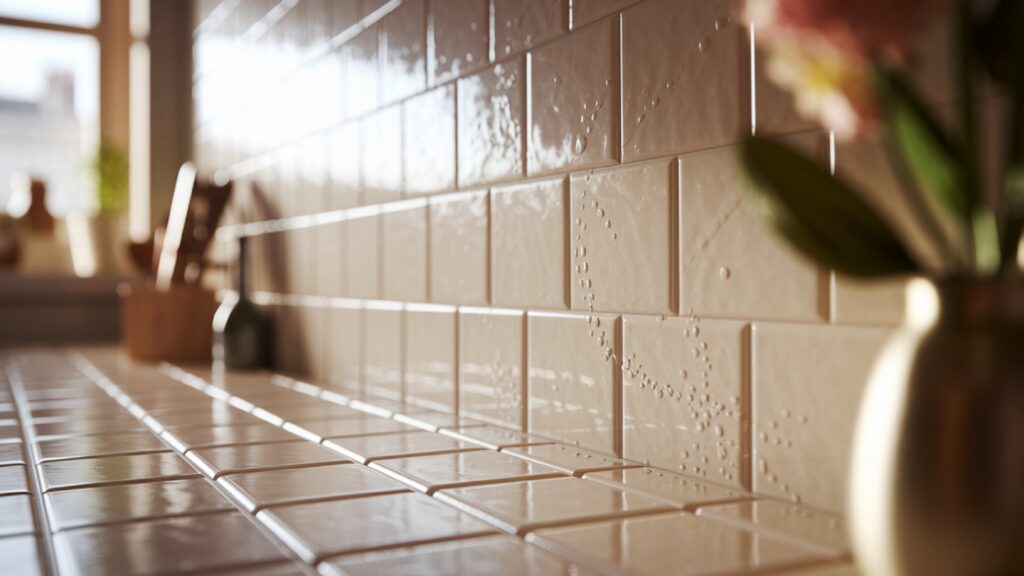
Problem: Air bubbles under the surface
Solution:
- Use a utility pin to poke the bubble
- Press down with your fingers or a roller
Problem: Misaligned tile
Solution:
- Remove immediately after placing (within 30 minutes)
- Use a fresh tile rather than trying to repositin warped ones
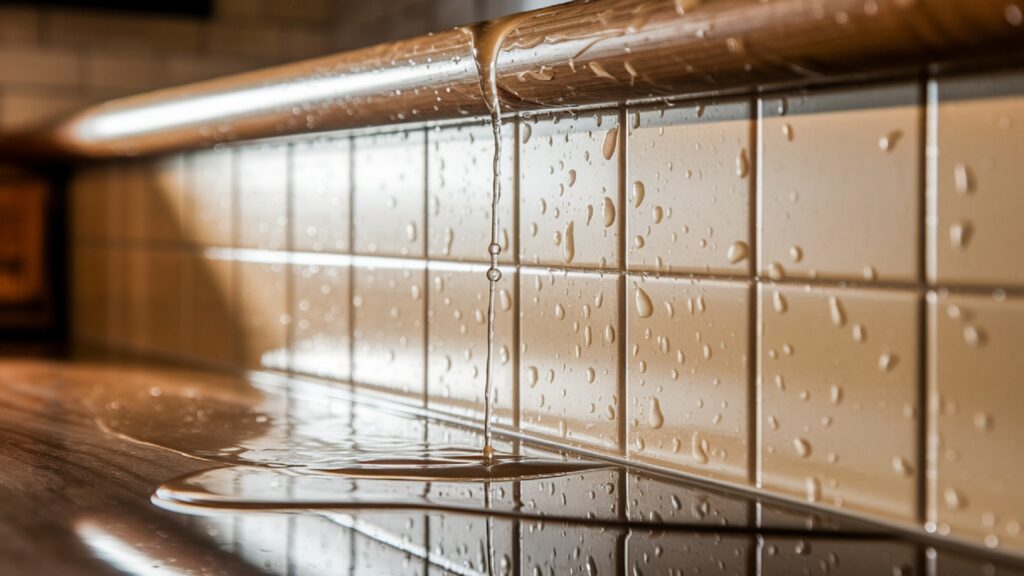
Problem: Water seeping behind tiles
Solution:
- Remove affected tiles
- Clean area and reseal with silicone
- Reapply new tile with adhesive boost
Problem: Discoloration or fading
Solution:
- Use blinds or UV-blocking window film in sunny areas
- Choose UV-resistant products labeled for outdoor or sunroom use
Comparison Table: Peel and Stick vs Other Flooring
| Feature | Peel & Stick Tile | Ceramic Tile | Laminate | Traditional Vinyl |
|---|---|---|---|---|
| Installation | Easy DIY | Requires labor | Moderate DIY | Moderate DIY |
| Cost per sq ft | $1–$5 | $7–$20 | $2–$7 | $2–$6 |
| Durability | Medium | High | Medium | Medium |
| Water Resistance | High (if sealed) | Very High | Low–Medium | High |
| Removability | Easy (heat and pull) | Permanent | Possible but tricky | Semi-permanent |
| Rental-Friendly | Yes | No | Sometimes | Yes |
| Eco Options | Some available | Natural material | Rare | Rare |
Budget Breakdown & Cost-Saving Tips
Here’s a rough idea of what a typical peel and stick tile project might cost:
Materials:
- Tiles: 100 sq ft at $3/sq ft = $300
- Tools (once): $50–$100
- Sealants and adhesive: $15–$30
- Optional trim or underlayment: $20–$50
Total estimated cost: $400–$500 for a mid-sized kitchen or small bathroom.
Ways to Save:
- Buy in bulk or during seasonal sales
- Choose tile packs instead of singles
- Rent tools like rollers from home centers
- Reuse clean tiles from discontinued projects
- Stick to high-impact areas (backsplash or entryway) rather than full-room coverage
Environmental & Rental Considerations
As peel and stick tile becomes more populr, both renters and environmentally conscious homeowners are asking important questions about sustainability and lease agreemnts.
Eco-Friendliness of Peel and Stick Tile
Traditionally, vinyl-based peel and stick tile has raised concerns over chemicals like VOCs (volatile organic compounds) and PVC content. But modern manufacturing has started to address this:
- Low-VOC Adhesives: Brands like FloorPops and Smart Tiles now advertise low-emission adhesives that meet indoor air quality standards.
- Recycled Materials: Some peel and stick tiles contain post-consumer vinyl or recycled backing layers.
- Certifications: Look for certificatins like GREENGUARD Gold, FloorScore, or LEED credits for eco-aware products.
- Reusable options: A few luxury peel and stick brands offer repositionble tiles that can be reused in a new space, cutting down on waste.
While not every brand is eco-friendly, you can now find options that meet sustainable living goals.
Rental Rules & Landlord Considerations
One of the top reasons people choose peel and stick tile is that it’s renter-friendly, but it’s always wise to check your lease before starting a project.
Tips for Renters:
- Get permission in writing. Landlords often allow non-permanent changes that don’t damage surfaces.
- Use removable-only products. Some brands are designed to peel cleanly without leaving adhesive residue.
- Avoid installing on raw surfaces. Painted drywall or tile works better than unfinishd plywood or stucco, which may get damaged on removl.
- Document everything. Take “before” photos so you can prove that any updates didn’t harm the property.
In the best-case scenario, your landlord may even approve a small upgrade if it adds value to the unit!
Expert Installer Tips & Insights
While peel and stick tile is designed for DIY, professional contractrs and flooring experts have a few tricks that separate flawless installs from mediocre ones.
Here’s what seasoned installers recommend:
Start from the center.
“Don’t start at the edge of the room—it can cause your lines to drift. Snap a chalk line and center your first tile for balance.”
Don’t trust every wall to be straight.
“Old homes have crooked walls. Use a square or chalk line, not the basebord, to lay your first row.”
Heat makes a difference.
“If your tiles aren’t sticking well, warm the room or use a hairdryer to slightly soften the adhesive before pressing.”

Roll every tile—no exceptions.
“I’ve seen people push with their hand, but a hand roller distributes pressure evenly. It helps the tile bond stronger and longer.”
Always order extra.
“Add 10–15% more tile than your measurements. You’ll thank yourself when a tile gets miscut or arrives damaged.”
Don’t skip sealant in kitchens or baths.
“Moisture will find a way in unless you use silicone at the seams and behind sinks or stoves.”
By following these pro tips, your peel and stick tile installatin will look polished and last for years to come.
Common Mistakes People Make
In addition to the benefits, it’s vital to acknowledg frequent errors when using peel and stick tile, so you can avoid them:
Surface prep shortcuts
- Installing on dusty, painted-over, or damp surfaces leads to peeling.
Ignoring temperature and moisture control
- Adhesives fail in high-humidity areas like unseald showers.
Poor layout planning
- Not chalking center lines causes offset patterns at walls.
Imprecise cuts
- Ragged edges occur without clean, controlled blade strokes.
Skipping sealing edges
- Water seeps into edges around tubs or countertops.
Using cheap products for heavy traffic
- Dollar-store peel-and-stick vinyl may scratch or peel in kitchens/living areas.
Not rolling or pressing properly
- Air pockets damage appearance and allow dirt buildup
Throughout this expanded section, I’ll incorprate real-life missteps, user stories, and solutions to reinforce each point.
FAQs About peel and stick tile
Is peel and stick tile waterproof?
Many styles resist water—especially ones rated “wet area safe.” But full submersion (showers/bathtubs) requires tiles with sealed edges and waterproof adhesives. Always check manufactrer specs.
Can I install peel and stick tile over old tile?
Yes—flat, clean ceramic or vinyl surfaces make perfect bases. Uneven or cracked tiles may need levling compound.
How long does peel and stick tile last?
Quality vinyl can last 5–10+ years with proper preparation. Low-cost varieties may peel in 1–2 years in sunny or high-traffic environments.
Is peel and stick tile heat-resistant?
Most withstand normal indoor temperatures. Avoid placing directly behind ovens or stoves—use heat-rated tiles or backer materials.
How do I remove peel and stick tile properly?
Apply heat with a hair dryer, peel slowly at low angle, and remove residue with a mild adhesive remover.
Are peel and stick tiles eco-friendly?
Today’s greener options use recycled vinyl or PVC-free materials—seek third-party certifications like GREENGUARD.
Author Remarks
The peel and stick tile has earned its place as a top choice for budget-conscious renovators, renters, and design lovers alike. Whether you’re giving your kitchen a facelift, making a small bathroom feel new, or upgrading a rental without risk, these tiles offer unmatchd convenince and style.
We’ve explored everything from materials and design trends to expert tips and renter considerations. The key to success lies in preparation—start with a clean, flat surface, follow layut lines, cut with care, and seal as needed. With the right approach, your peel and stick tile project can look like a high-end renovtion for a fraction of the time and cost.
So, whether you’re a first-time DIYer or a seasoned home improver, don’t overlook this innovative solution. Peel and stick tile might just be the easist way to bring beauty, value, and personality into your space—one tile at a time.
1 Comment