
Introduction of Kitchen Backsplash Tile
Kitchen backsplash tile is much more than a decorative afterthought—it’s a centerpiece that blends beauty with purpose. A well-chosen backsplash protects your walls from cooking splatters, moisture, and daily wear, while also enhancing your kitchen’s style. You’re doing a full renovtion or just a minor refresh, understanding how to choose, install, and maintain kitchen backsplash tile is pivotal.
We’ll dive deep into the world of backsplsh tile—explorng materials, design trends, budgeting tips, DIY vs. professional installation, and maintenance strategies. By the end, you’ll have evrything you need to plan a A backsplash that is both functional and stylish. So let dive in and explore the many facets of kitchen backsplash tile that will help make your kitchen look amazing and beyond.
What Is Kitchen Backsplash Tile?
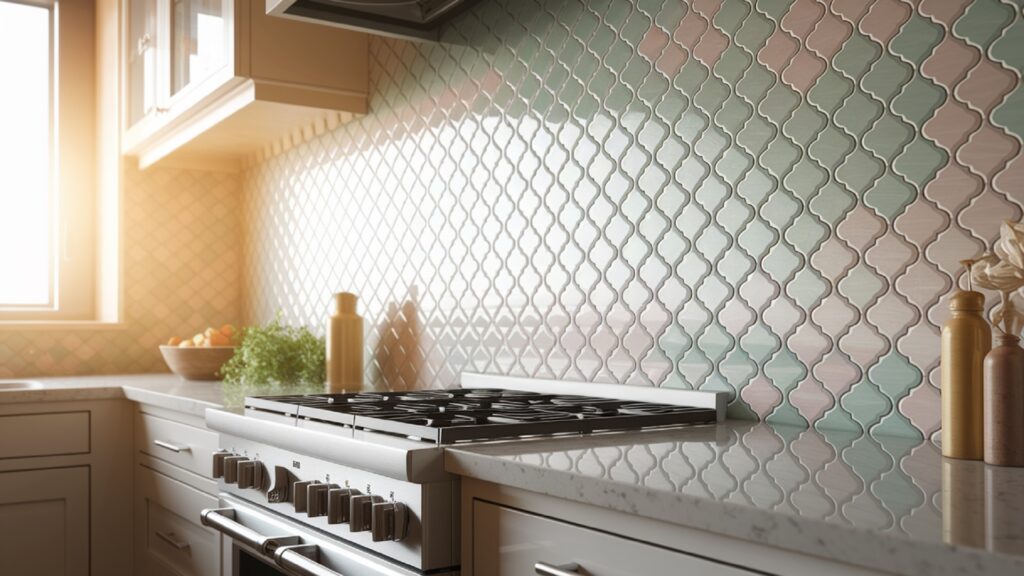
Kitchen backsplash tile refers to the panels, mosaics, or sheet-style tile materials installed on the wall between your counter and upper cabinets, typiclly spanning from the countertop surface up to the bottom of the cabinets, though full-height or ceiling-height backsplashs are trending. A backsplash’s primary role is practical: it guards the wall against water, heat, oil, and food stains. But beyond its protective function, backsplash tile is a major aesthetic player, offering texture, contrast, and style.
There are numerous material options:
- Ceramic tile: Most common and budget-friendly, available in countless colors, sizes, and finishes.
- Porcelain tile: Denser and more durable than ceramic; ideal for high-traffic or moist kitchens.
- Glass tile: Glossy and reflective; available in vibrant hues, often used for accent walls.
- Natural stone (marble, travertine, slate): Bring earthy, organic elegance, though typically pricier and porous.
- Metal tiles (stainless steel, copper): Modern, industrial-chic look, heat-resistant, but can scratch.
- Subway tile: Classic rectangular ceramic tile; timeless yet flexible in design.
These materials are also available in a rang of sizes—from tiny mosaic tiles to large-format slabs. As trends continue evoling, new specialty options have emrged: handmade artisanal tiles, textured 3D tiles, and even patterned encaustic-look porcelain.
Key aspects that define a backsplash tile include:
- Material and durability – How well it holds up to heat, moisture, and cleaning.
- Size and layout pattern – Whether you prefer large panels for minimal grout lines or intricate mosaics for visual interest.
- Finish – Glossy vs. matte, texturd vs. smooth.
- Color and design – From bold monchromes to soft neutrals, or eye-catching patterns.
Benefits of Kitchen Backsplash Tile
Installing kitchen backsplash tile isn’t just about adding color or filling a blank wall—it brings a wide array of functional and aesthtic benefits. A well-selected backsplash enhances your daily kitchen experience while contributing long-term value to your home.
1. Protects Your Walls
First and foremost, backsplash tile acts as a protective shield. Cooking often causes splattrs of grease, oil, and sauces to hit the wall, especially behind the stove or sink. Without a durable surface, your painted or drywalled walls will absorb stains, degrade with moisture, and eventually require costly repair.
Backsplash tiles, especially glazed ceramic or glass options, are non-porous and easy to wipe clean. This protection saves time, energy, and money over the life of your kitchen.
Also Visit This ( Kitchen Cupboard Organizers ).
2. Enhances Design and Style
In addition to its utility, backsplash tile is one of the most prominent visual elements in a kitchn. The choice of color, pattern, texture, and layout can tie the entire design together or create a bold contrast to make your kitchen pop.
Because backsplash tile takes up vertical space, it’s a chance to play with shapes and patterns. You can keep it classic with subway tiles or go bold with Moroccan prints, chevrns, or metallic mosaics.
3. Easy to Clean and Maintain
Most tiles are inherently stain-resistant and do not require extensive cleaning. Unlike wallpaper or paint, which can peel or stain over time, a backsplash tile stays intact with regular wiping.
In addition, many backsplash materials only need occasional grout cleaning and resealing, especially in areas near sinks or cooking zones.
4. Adds Resale Value
Homebuyers often look at kitchens first. A beautifully tiled backsplash gives the impression of a well-maintaind, thoughtfully designed space. Even a modest kitchen can look more luxurious and updated with the right tile.
Kitchen remodels that include backsplashes often yield higher returns on investment because they improve aesthetics, functionality, and perceived quality.
5. Offers Endless Design Options
With thousands of combinations of materials, colors, and patterns availabl, your backsplash can reflect your personality and vision. Whethr you’re aiming for minimalist Scandinavian, cozy farmhouse, modern industrial, or eclectic bohemian vibes, there’s a tile style that suits your taste.
How to Use Kitchen Backsplash Tile Effectively
To make the most of your kitchen backsplash tile, planning is essentil. Here’s how to select, prepare, and install it effectively.
Step 1: Choose the Right Material for Your Needs
Not all tiles are created equal. Choose based on your lifestyle and kitchen habits:
- Ceramic and porcelain: Ideal for busy families due to easy maintenance.
- Glass: Best for bright, contemprary kitchens with lots of natural light.
- Natural stone: Great for rustic or classic kitchens, but requires sealing.
- Metal: Perfect for modern, minimalist, or industrial looks.
Ask yourself: Do I cook frequently with oil or steam? Do I want something low-maintenance? Do I need to match an existing countertop or cabinet?
Step 2: Select the Right Color Palette and Pattern
Here are a few common approaches:
- Match with countertops or cabinets for a seamless look.
- Use contrast to creat a focal point, like white tile with dark cabinetry.
- Incorporate patterns like herringbone, chevron, or vertical stack.
- Accent strips can break up solid walls and add dimension.
Consider lighting, too. Glossy tiles reflect more light and can make smaller kitchens feel bigger.
Step 3: Prepare the Wall Surface
Before you install your tile, make sure the wall is:
- Dry and clean: Remove old paint or wallpaper, and scrub the surface.
- Flat and smooth: Use a level and patch holes or bumps.
- Primed: Some surfaces (like drywall) need a primer or backr board to help tiles adhere.
Step 4: Choose the Right Adhesive and Grout
Use tile adhesive (thinst mortar or mastic) appropriate for your tile type and wall surface. For wet ares like behind sinks, thinst with waterproof properties is a must.
Grout comes in sanded and unsnded varieties. Sanded is ideal for larger gaps, while unsanded works for narrow joints and glossy tiles.
Tip: Choose colored grout to either match or contrast with your tile—it can dramatically alter the final look.
Step 5: Consider DIY vs. Hiring a Pro
DIY installation can save money and be rewarding. However, it requires time, patience, and the right tools (tile cutter, trowel, spacers, level, etc.).
Hire a professional if:
- You’re working with intricate pattrns
- The walls are uneven or oddly shaped
- You’re using delicate or expensive materials
- You want a guaranteed, polished finish
Internal Resource
Want to explore more renovation ideas? Visit our guide to choosing the perfect kitchen cabinets.
Common Mistakes People Make with Kitchen Backsplash Tile
Even though installing kitchen backsplash tile seems straightforward, it’s easy to fall into common traps that can affect the final result. Knowing these mistakes ahed of time helps you avoid wasted money, time, and frustration.
1. Choosing Style Over Function
One of the biggest mistakes homeowners make is selecting a tile solely basd on how it looks. While design is important, certain materials may not perform well in a busy kitchen. For example, unsealed natural stone may stain easily, and glossy glass tiles can show fingerprints and watermarks quickly.
Tip: Always balance aesthetics with practicality. Ask yourself: Will this hld up to daily cooking and cleaning?
2. Neglecting Surface Prep
Tile installation is only as good as the surface underneath. If you skip cleaning, patching, or priming the wall, tiles may not adhere correctly and may even fall off over time. Uneven surfaces also lead to crooked lines and visible flaws.
Tip: Always clean the wall, remove grease, and fill any holes before you begin.
3. Poor Layout Planning
Jumping into tiling without a layout plan can lead to awkward cuts at the corners, mismatched patterns, or an off-center focal point behind the stove.
Tip: Dry-lay your tiles or use layout software to preview your design. Mark your centerline, then work outward to ensure symmetry.
4. Incorrect Grout or Adhesive Usage
Grout color and type have a huge effect on the final look. Choosing bright white grout for a dark tile can cause visual distraction. Using the wrong adhesive—like mastic for glass tile—can damage the surface or lead to tiles slipping during installation.
Tip: Always check the manufacturer’s recmmendations for both grout and adhesive.
5. Inconsistent Grout Lines
Uneven spacing or failing to use spacers can reslt in tiles that look sloppy or crooked. This is especially noticeable on large tile walls or in patterns like herringbone.
Tip: Use tile spacers and a level for every row. Step back regularly to check your alignment.
Popular Styles of Kitchen Backsplash Tile
The world of kitchen backsplash tile is constantly evolving. Whether you’re designing a new kitchen or updating an old one, here are the most popular tile styles making waves.
1. Subway Tile—But with a Twist
Subway tile continues to reign supreme, but brings modern variations:
- Vertical stack instead of horizontal
- Oversized subway tiles (e.g., 4×12 or 6×16)
- Colored grout for contrast
- Handmade-look tiles with uneven edges for a rustic vibe
This classic choice remains timeless, but the new layouts breathe fresh life into it.
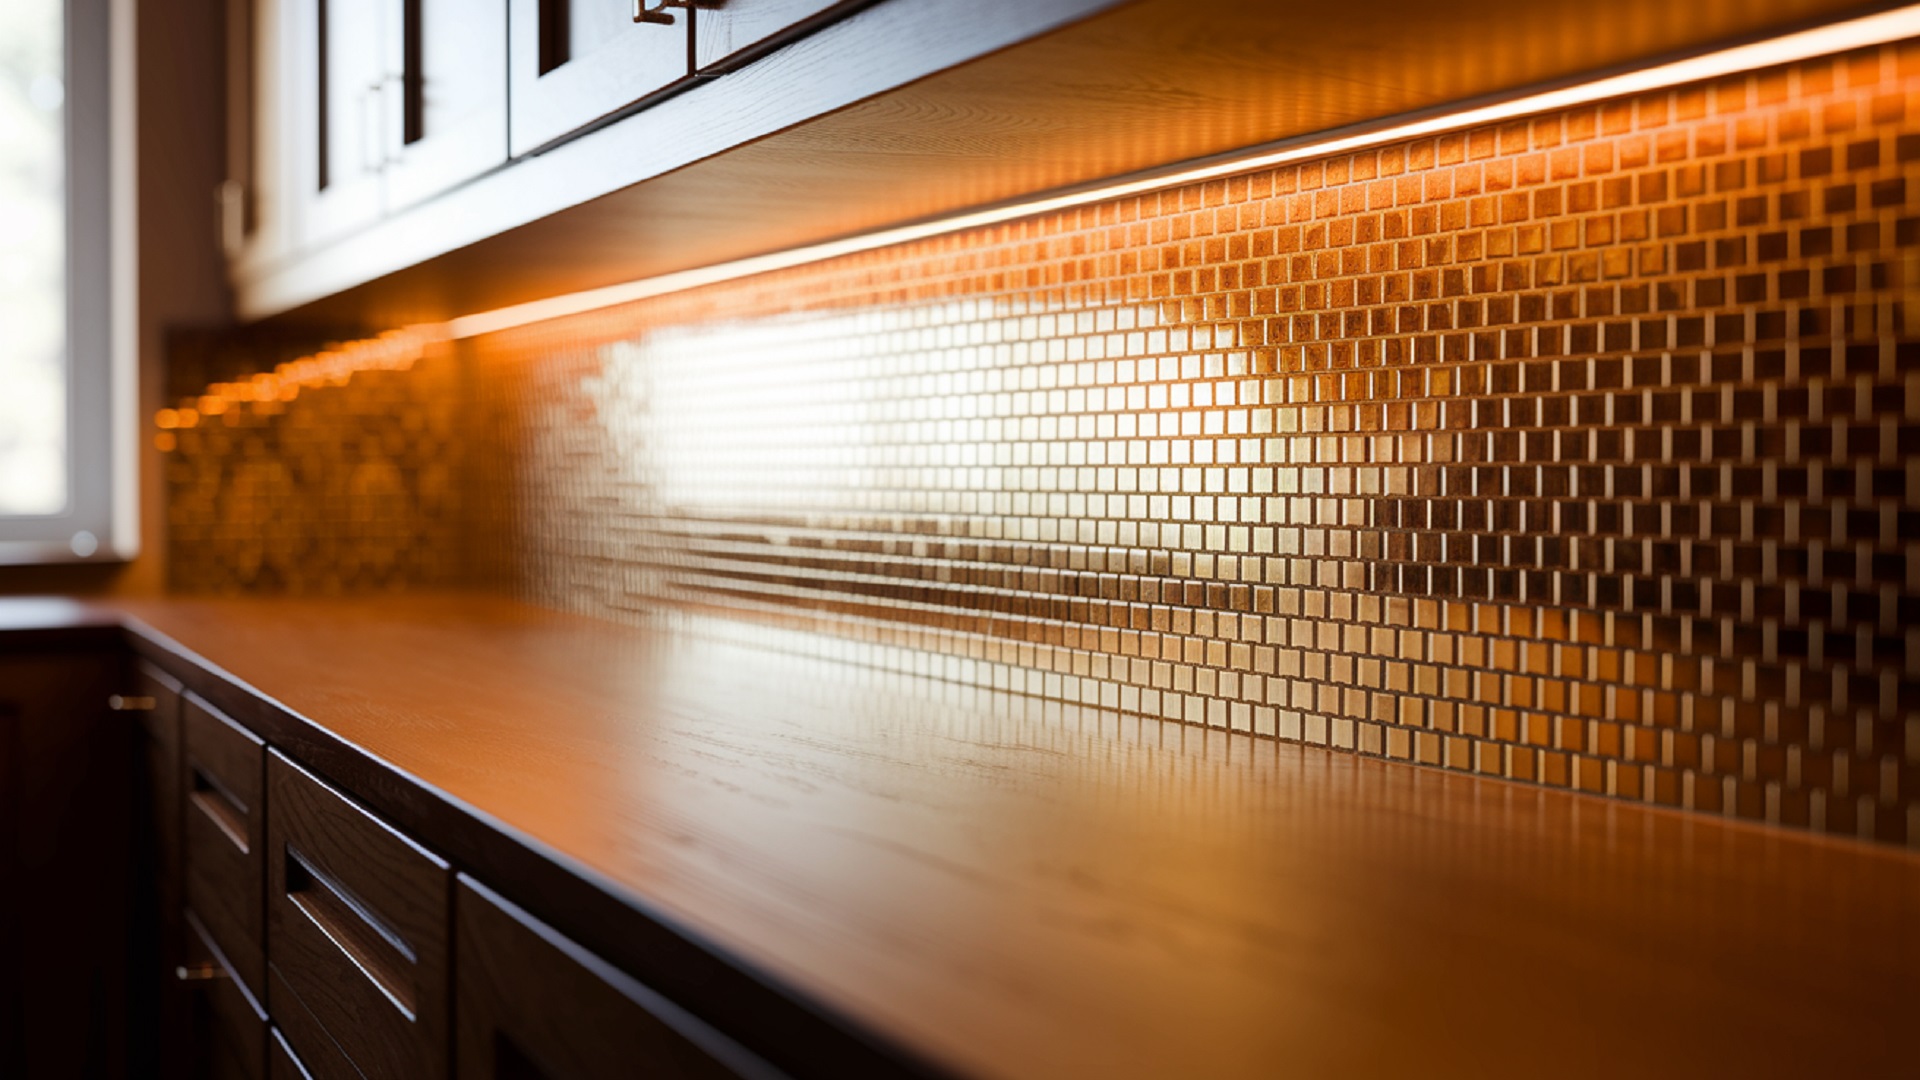
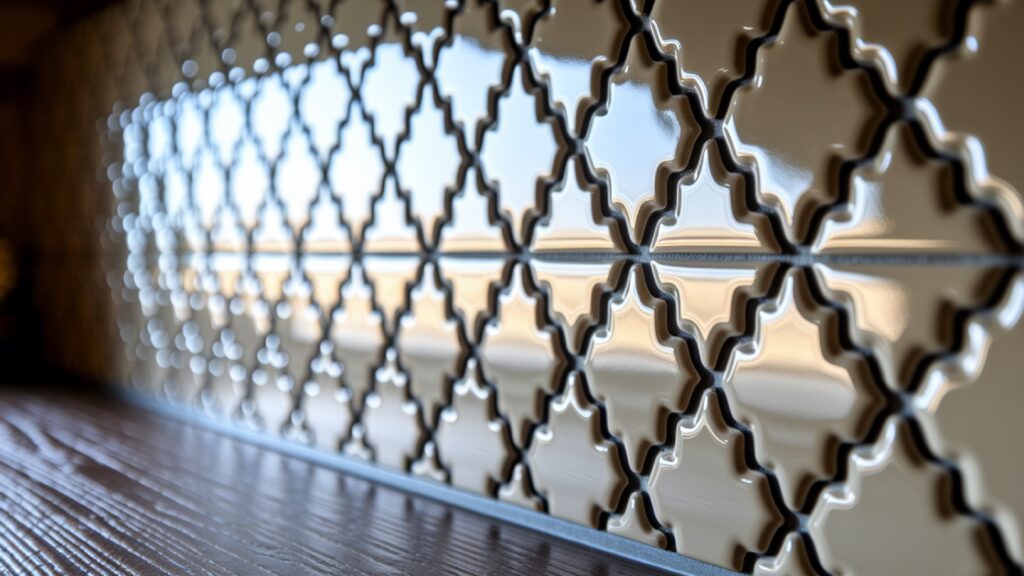
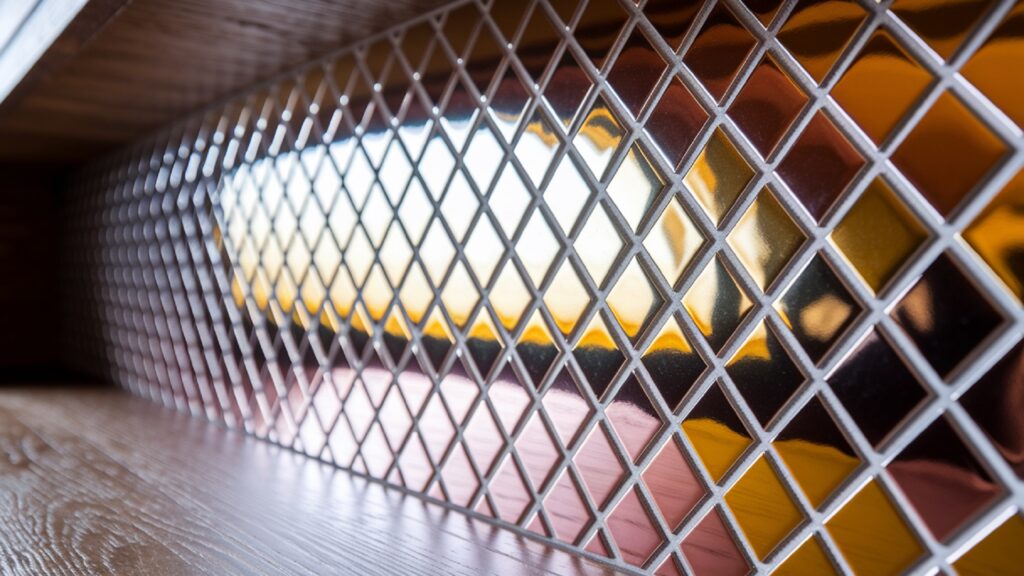
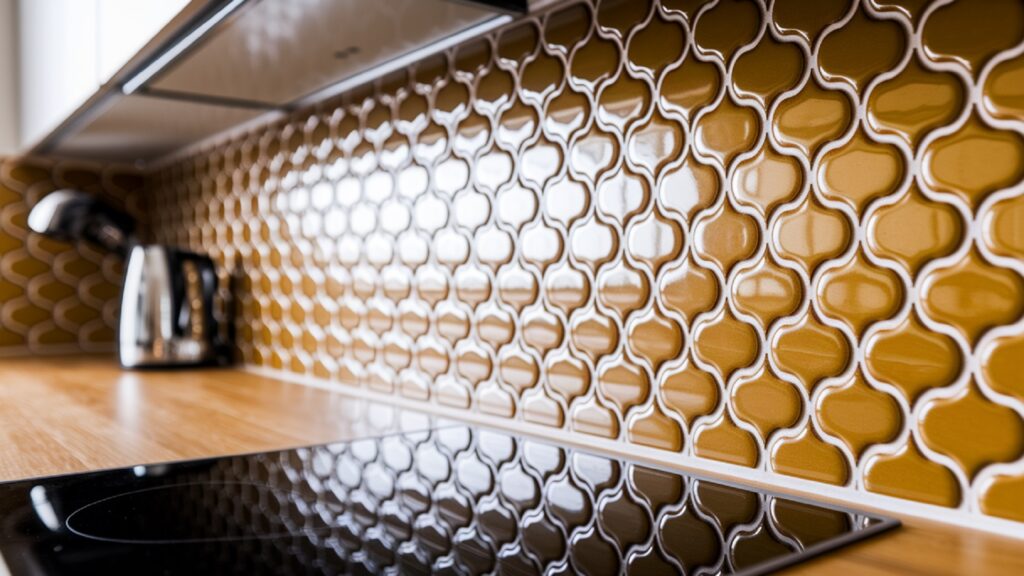
2. Mosaic and Geometric Patterns
Small mosaic tiles arranged in hexagons, chevrons, or arabesqus add texture and sophistication to your kitchen. They can act as an accent strip or cover an entire wall.
Popular mosaic materials:
- Glass
- Mother of pearl
- Metal inlays
- Mixed stone-glass blends
These styles are ideal for small spaces or where you want to make a visual statement.
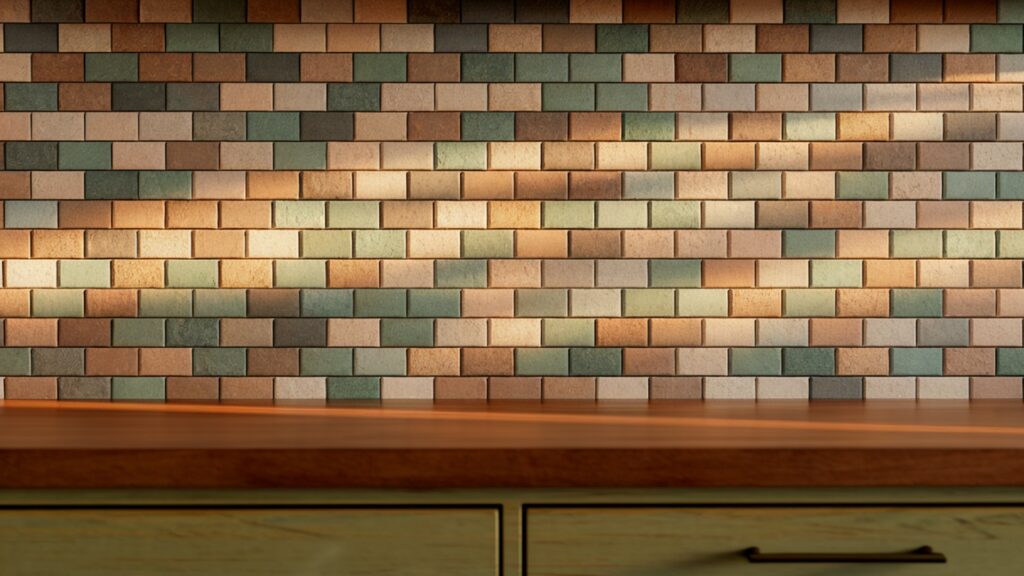
3. Natural and Earthy Tones
There’s a strong movement toward biophilic design—bringing nature indoors. Earth tones like terracotta, olive green, and sandy beige are replcing stark whites and grays.
Natural stone tiles—such as travertine, limestone, or tumbled marble—fit this trend perfectly, offering subtle texture and organic elegance.
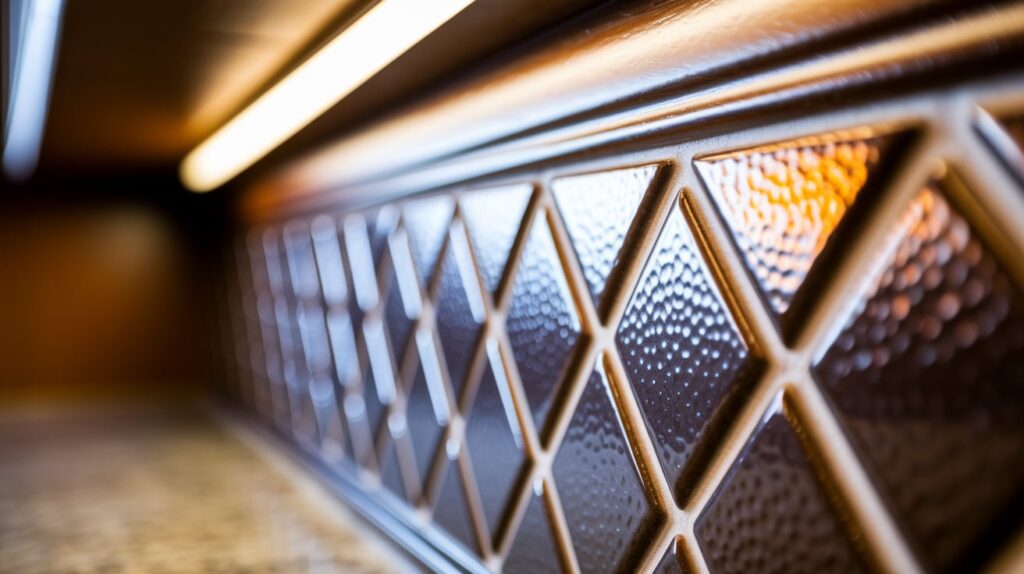
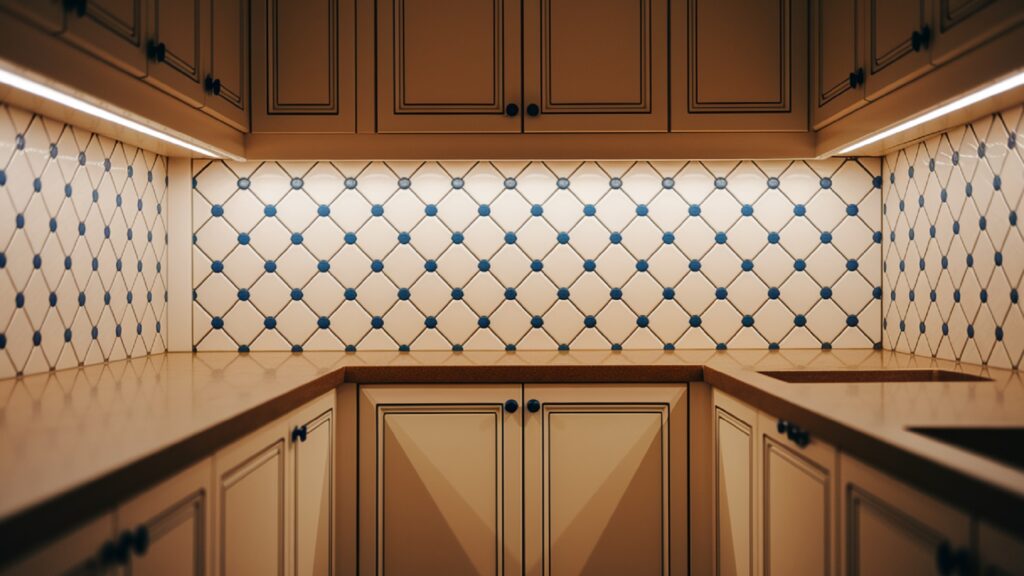
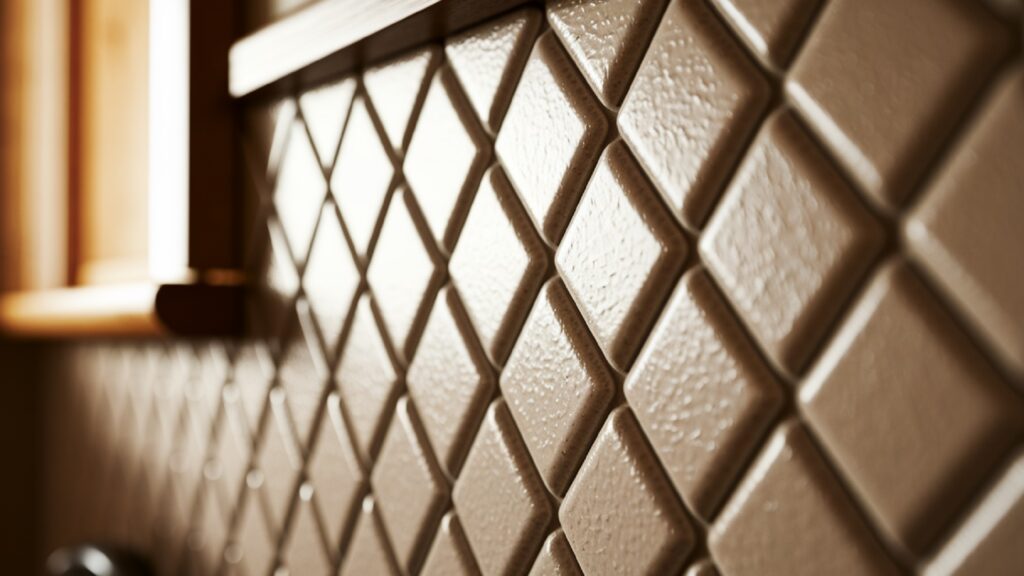
4. Textured and 3D Tiles
For homeowners looking to add dimension, 3D backsplash tiles are growing in popularity. These can include:
- Wavy patterns
- Carved reliefs
- Layered geometric shapes
They work especially well with under-cabinet lighting, which highlghts the depth and movement in the tiles.
5. Full-Slab Backsplashes
Rathr than traditionl tiles, many modern kitchens are usig full slabs of quartz, granite, or porcelain. These seamless backsplashes are sleek, luxurious, and incredibly easy to clean.
They’re more expensive than tile but offer a high-end aesthetic and minimal maintenance.
Step-by-Step Guide to Installing Kitchen Backsplash Tile
Whether you’re a weekend DIYer or just want to understnd the process before hiring a professional, installing kitchen backsplash tile is a rewarding project with visible results. Here’s a detailed guide from start to finish.
Tools and Materials You’ll Need:
- Tile of your choice (with 10% extra for cuts/breakage)
- Tile spacers
- Notched trowel
- Level
- Measuring tape
- Tile cutter or wet saw
- Thinset mortar or mastic
- Grout (sanded or unsnded, depending on tile gaps)
- Grout float
- Sponge and bucket
- Painter’s tape and drop cloths
- Tile sealer (if using natural stone)
Step 1: Plan and Measure
Before you begin, measure the area to calculate how many tiles you all need. Order at least 10% more than your measurement to cover waste and future repairs.
Use painter’s tape or a pencil to mark layout lines directly on the wall, especially your centerline. If your backsplash includes decorative elemnts (like borders or mosaics), mock up the design on a flat surface before committing.
Step 2: Prep the Wall
Make sure the wall is clean, dry, and smooth.
- Remove outlet covers and switch plates.
- Scrub away grease with a degreasing cleaner.
- Patch holes or uneven areas with joint compound.
- Sand smooth and wipe down.
If your wall is porous drywall, use a primer or cement board as a base layer to help tiles bond properly.
Step 3: Apply Tile Adhesive
Mix your thinset mortar (if using) and spread it evenly using a notched trowel. Only apply enough adhesive for a small section at a time—usually 2–3 square feet—so it doesn’t dry out.
Hold the trowel at a 45° angle and create ridges that help the tile stick.
Step 4: Lay the Tile
Press the first tile into the adhsive using slight twisting motions. Plac tile spacers around all edges to ensure even grout lines.
Work from the bottom center outwards, row by row. Use a level to keep everything aligned.
For edge piecs, use a tile cutter or wet saw to make clean cuts. A scoring cutter works well for ceramic, while a wet saw is better for stone or glass.
Step 5: Let It Set
Once all the tiles are installed, let the adhesive dry per the manufacturer’s instructions—usually 12–24 hours. Avoid touching or cleaning the tiles during this time.
Step 6: Apply Grout
Remove tile spacers. Using a grout float, press grout into the joints at a 45° angle, working diagonally to avoid dislodging the tiles.
After the grout sets slightly (about 10–15 minutes), wipe away excess with a damp sponge. Rinse often and clean gently to avoid pulling grout from the lines.
Step 7: Seal
If you used natural stone tiles or porous grout, apply a grout or tile sealer once everything is dry (typically after 48–72 hours). This helps prevent staining and moisture damge.
Step 8: Final Touches
- Reattach outlet covers.
- Caulk the joint where the tile meets the countertop.
- Clean all surfaces with a soft cloth.
Pro Tip: Want a clean edge where your tile stops? Use a trim piece like a bullnose tile or aluminum edge strip for a polished look.
Maintaining Your Kitchen Backsplash Tile
Once installed, your kitchen backsplash tile will serve you well for years if you maintain it properly. Here’s how to keep it looking its best:
1. Clean Regularly
- Daily: Wipe with a microfiber cloth or sponge and warm water.
- Weekly: Use a mild, non-abrasive cleaner to remove grease or food residue.
- Avoid: Harsh chemicals, bleach, or abrasive scrubbers that can damage grout or tile surfaces, especially on naturl stone or glossy finishes.
2. Re-Seal as Needed
Stone tiles and certain grouts should be resealed every 1–2 years. To test if resealing is needed, pour a few drops of water onto the tile—if it darkens, it’s time to seal.
3. Fix Cracks or Chips Quickly
If you notice cracked tiles or crumbling grout, repair them right awy to avoid moisture getting behind the tile and causing mold or damage to the wall.
4. Use Ventilation
Always use your kitchen vent or hood fan when cooking. This reduces moisture and grease build-up on the backsplash, especially behind the stove.
FAQs About Kitchen Backsplash Tile
We get tons of questions about kitchen backsplash tile, so here are some of the most common, with clear, concise answers.
What’s the most durable backsplash tile?
Porcelain is generally considred the most durable. It’s denser than ceramic, highly resistant to moisture, and holds up well in high-traffic areas. Glass is also durable and stain-resistnt, but can be more fragile during installation.
Can I install kitchen backsplash tile over existing tile?
Yes, but only if the old tile is firmly attached and the surface is level. The added thickness may interfere with outlets, cabinets, or trim. In most cases, removing the old tile is recommended for a cleaner result.
How do I choose the right grout color?
This depends on the look you’re going for:
- Matching grout: Creates a seamless, modern look
- Contrasting grout: Emphasizes the tile pattern
- Neutral grout: Blends with various tile colors and hides dirt
Test a few samples before committing—you’d be surprised how much grout color changes the final appearance.
What backsplash tile is best for a small kitchen?
Smaller kitchens benefit from lighter, reflective tiles like white subway or glass mosaics. These matrials make the space feel bigger and brighter. Avoid overly dark or heavily patterned tiles that may feel overwhelming in a tight space.
How much does it cost to install kitchen backsplash tile?
- DIY costs: $5–$20 per square foot (materials only)
- Professional installation: $25–$50+ per square foot, depending on complexity
Natural stone or custom patterns will increase costs. Don’t forget to factor in tools, adhesive, grout, and prep work.
How long does installation take?
A small kitchen (10–20 square feet) can be completd in a weekend if you’re experiencd. For professionl installs, it usully taks 1–2 days, depending on drying time for adhesive and grout.
Author Remarks
Investing in a well-designed kitchen backsplash tile is one of the smartest—and most stylish—updates you can make to your home. From prtecting your walls and simplifying clean-up to transfrming the entire aesthetic of your kitchen, backsplash tile delivers both function and flair.
Let’s recap the key takeaways:
- Versatile materials: Ceramic, porcelain, glass, stone, and metal each offer unique pros and styles.
- Endless designs: Whether you prefer classic subway tiles, bold mosaics, or seamless slabs, the right backsplash can anchor your kitchen’s design.
- Functional benefits: Tiles resist stains, moisture, and heat, making them ideal for busy kitchen zones.
- DIY-friendly: With the right tools and patience, installing backsplash tile can be a satisfying weekend project.
- Long-term value: Adds style and increases home resale potential.
With so many styles, shapes, and finishes available, your backsplash is the perfect canvas to exprss your taste. Whether you’r aiming for timeless elegance or modern edge, this design element brings visual impact and everyday practicality.
Now that your equippd wth everything you need to know about kitchen backsplash tile, you’re ready to take the next step—whether it’s selecting your tile, planning your layout, or diving into a DIY install. Let your creativity shine, and make your kitchen the centrpiece of your home.
1 Comment