
Introduction to Ceramic Tile
Ceramic tile stands at the intersection of durability, beauty, and versatility. This engineered product—crafted from natural clay and fired under intense heat—has become a go-to finish for floors, walls, backsplashes, and more. Not only does it withstand moisture and heavy foot traffic, but it’s also available in endless styles, from classic subway shapes to intricte mosaic patterns.
The full scope of ceramic tile: its makeup, benefits, installation techniques, design trends, care tips, common pitfalls, and the latest styls. You’ll be equipped to choose, install, and maintain ceramic tile like a pro.
What is Ceramic Tile?
Ceramic tile is a nonmetallic, inorganic product created by shaping and then firing clay in a kiln at very high temperatures. This process hardens the materil and often involves applying a glaze for color and water resistance.
Moreover, ceramic tile comes in two main styles:
- Glazed ceramic: Featuring a colored surface coating, it resists stains and water.
- Unglazed ceramic: More porous and textured, ideal for traction-focused spaces like shower floors or patios.
Each type is suited to different needs. Glazed tiles are perfect for kitchens and bathrooms thanks to their easy-to-clean surfaces, while unglazed options provide slip resistance and a more natural, earthy aesthetic.
Ceramic tile is typically rated by PEI (Porcelain Enamel Institute) hardness levels 0–5, professionls and DIYers on where each tile type is most apprpriate, whether for wall-only use or heavy commercial flooring.
Also Visit This ( Saltillo Tile ).
Benefits of Ceramic Tile
Moreover, choosing ceramic tile has many advantages:
- Longevity: It withstands impacts, wear, and environmental stresses.
- Water resistance: Glazed types resist moisture, reducing mold risk.
- Low upkeep: Simple sweeping and mopping keep it pristine.
- Design flexibility: Tons of shapes, sizes, textures, and colors.
- Cost efficiency: More affordable than many natural stones like marble or granite.
- Creative patterns: Mix and match tiles to create custom designs.
- Eco-friendliness: Many are made from recycled materils and are fully recyclable.
In addition, ceramic tile is allergen-resistant, making it a healthy choice for households with sensitive individuls.
How to Use Ceramic Tile Effectively
To ensure success with ceramic tile, follow this step‑by‑step plan:
- Measure carefully:
- Calculate total square footage plus 10–15% extra for cuts and waste.
- Choose the right tile:
- For kitchens/baths, pick glazed PEI 3+ tiles.
- For outdoor or slippery areas, go unglazed.
- Prepare the surface:
- It must be clean, flat, and fuly dry.
- Select a proper adhesive:
- Use thin‑set mortar; add a latex additive for flexibility.
- Plan layout:
- Dry‑place tiles to confirm balance and visual symmetry.
- Install with spacers:
- Keep consistent grout lines.
- Apply grout correctly:
- Use unsanded for small gaps; sanded for larger spaces.
- Seal if needed:
- Grout and unglazed tiles benefit from sealing.
- Allow cure time:
- Wait 24–48 hours before foot traffic.
- Maintain regularly:
- Sweep daily, mop weekly, deep‑clean monthly.
For more details on working with thin‑set adhesives, Please tke a look at our detailed information , installation guide. For professional tips, visit Ceramic Tile Basics on The Spruce.
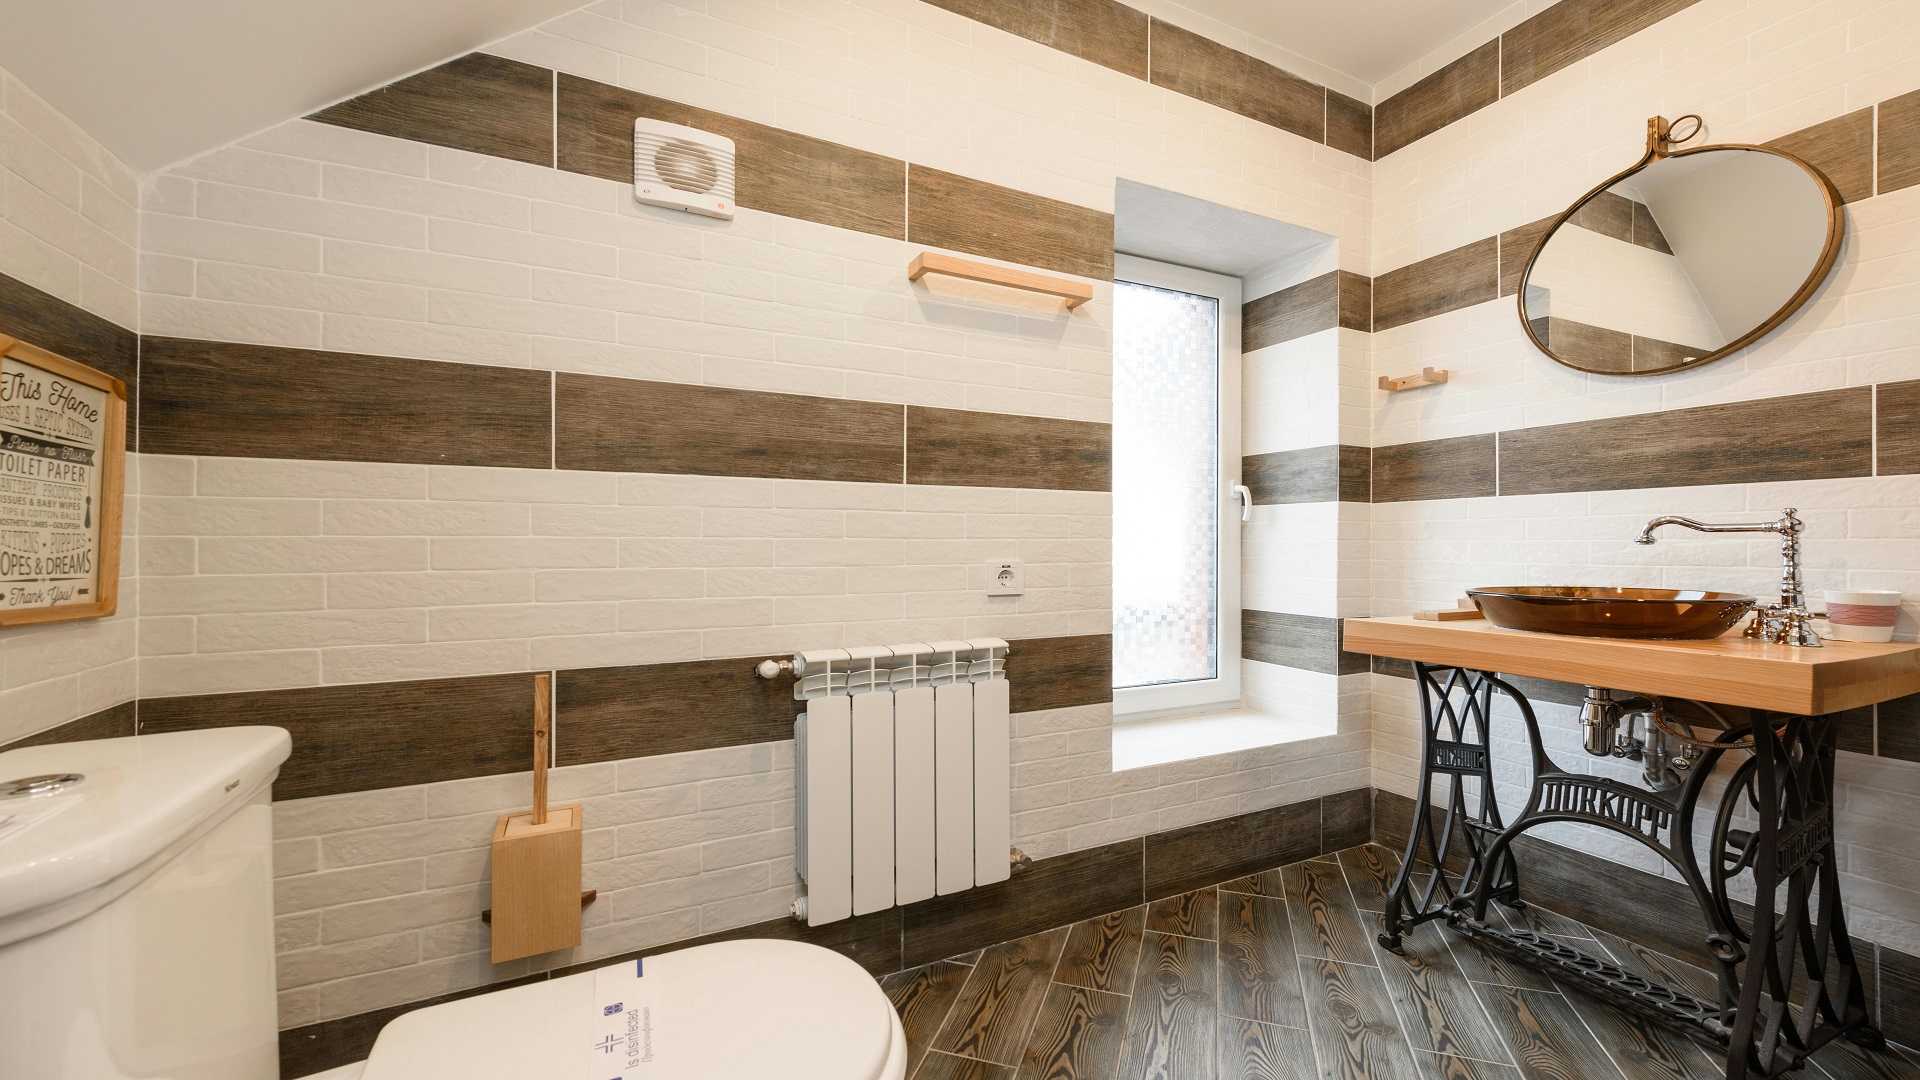
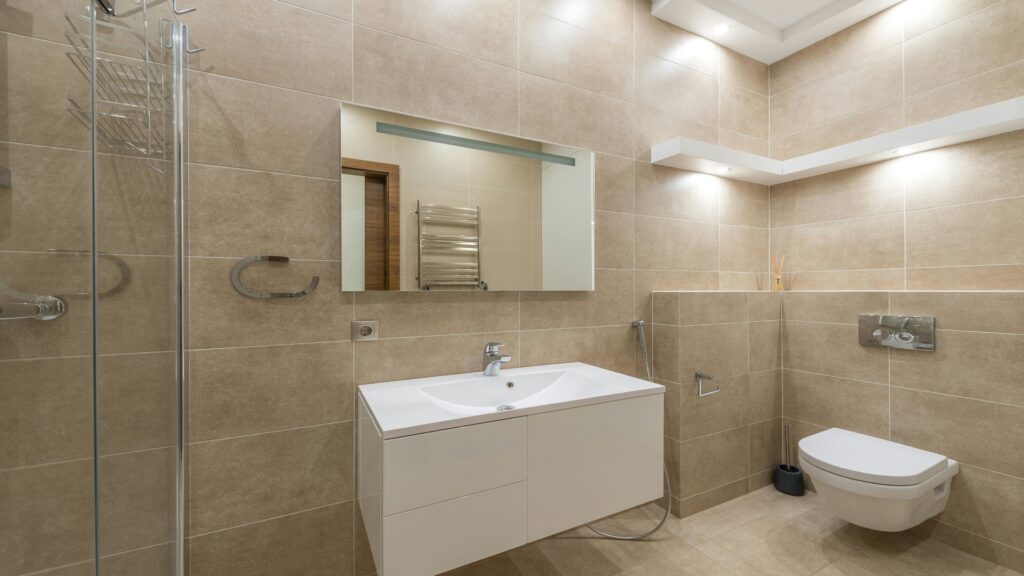
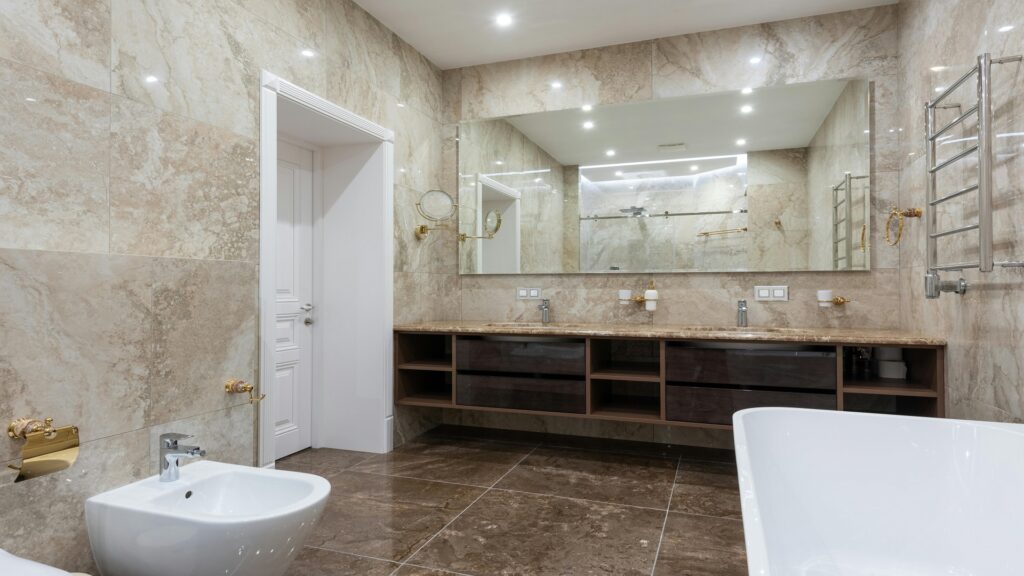
Design Trends for Ceramic Tile
The ceramic tile remains one of the most adaptable and in-demand surfaces in home and commercial design. Thanks to innovations in manufacturing, today’s tiles mimic natural materials and offer bold new aesthetics. Here are some of the top trends shaping the world of ceramic tile this year:
1. Natural-Look Finishes
Ceramic tile that mimics wood, stone, or concrete is more realistic than ever. Wood-look tiles offer the warm, inviting texture of hrdwood but with the durability and water resistance of cramic—ideal for bathrooms, kitchens, and even outdoor patios.
Pro Tip: Choose longer plank tiles for a more authentic hardwood appearance.
2. Large-Format Tiles
Large tiles, including slabs as big as 48″ x 96″, are trending in bth wall and floor applications. These tiles reduce grout lines, offering a sleek, modern look while simplifying maintenance.
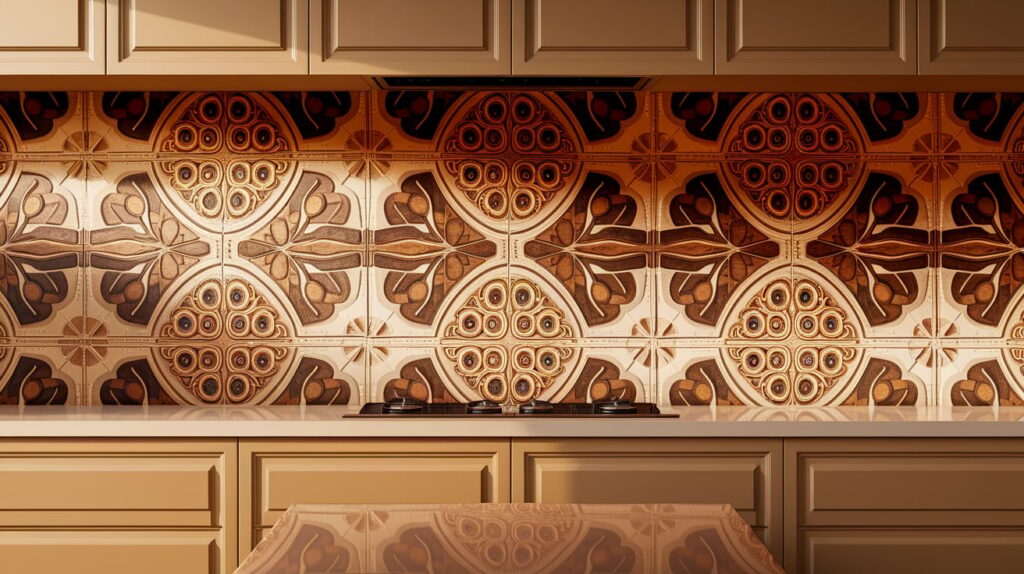
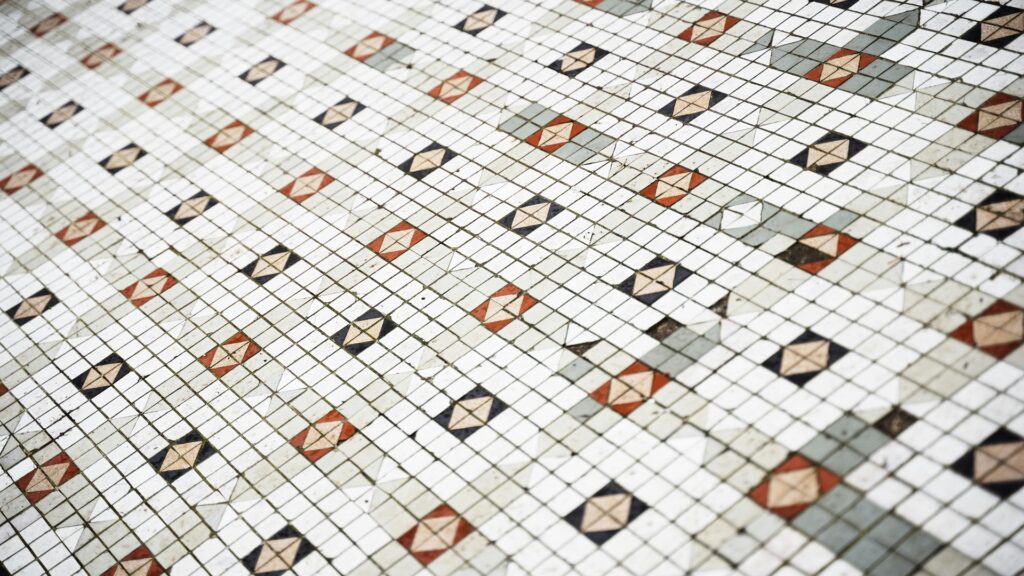
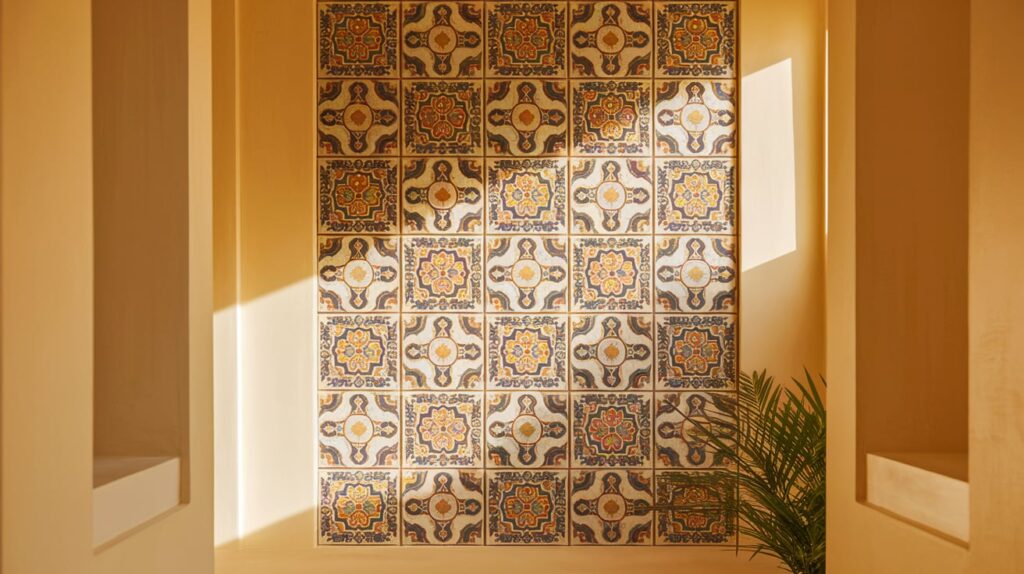
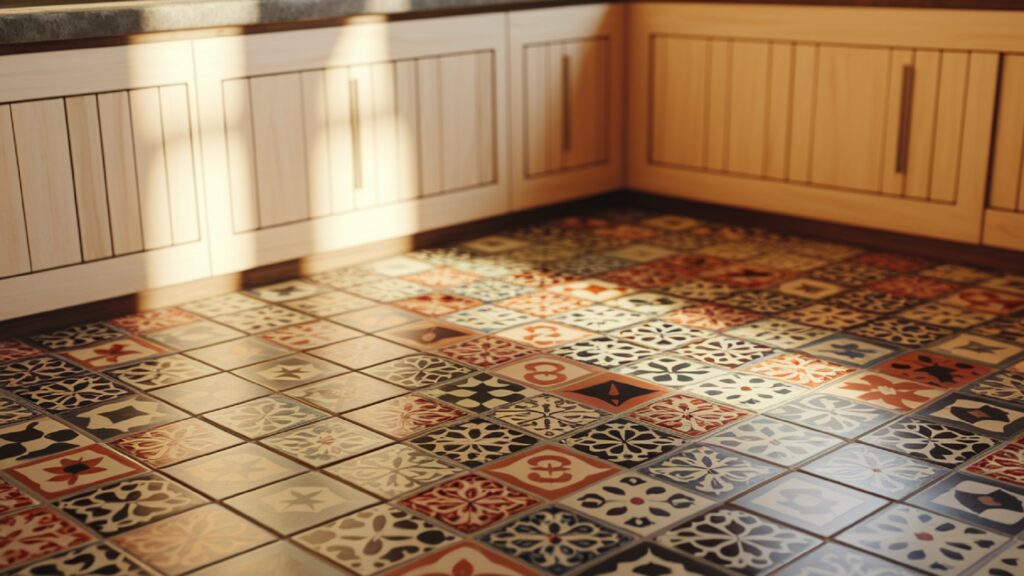
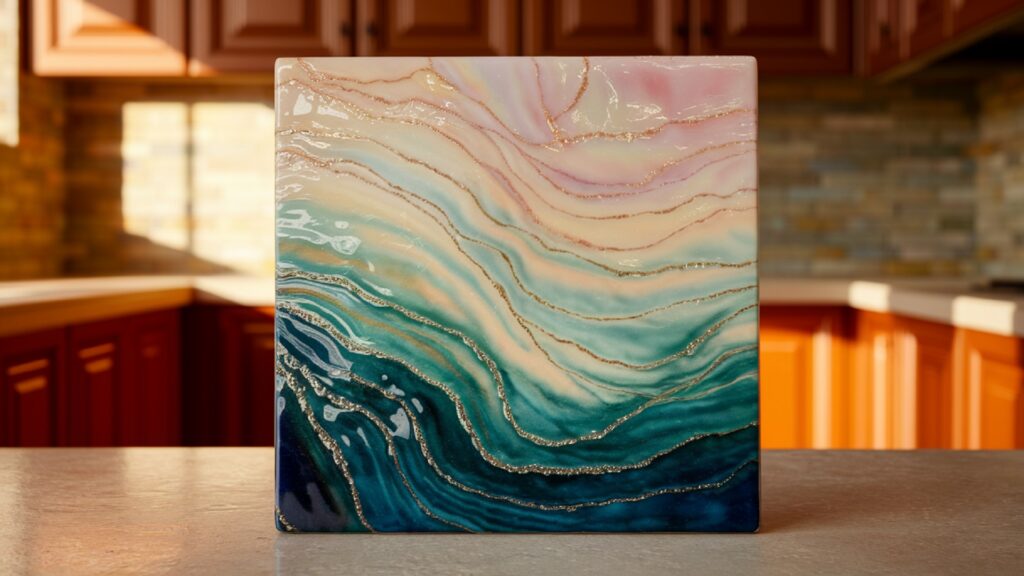
3. Bold Patterns and Textures
From Moroccan-inspired mosaics to 3D-textured wall tiles, bold patterns are makng a comebck. Designrs are mixing matte and glossy finishes to create unique visual effects.
4. Matte Finishes
Glossy tiles are classic, but matte surfaces are taking center stage. Matte ceramic tile provides a soft, sophisticated look and is often more slip-resistant, making it ideal for flooring.
5. Neutral Earth Tones
Warm taupes, sandy beiges, soft greys, and earthy greens are dominting ceramic tile color palettes. These tones complement organic interior styles like Japandi and Wabi-Sabi.
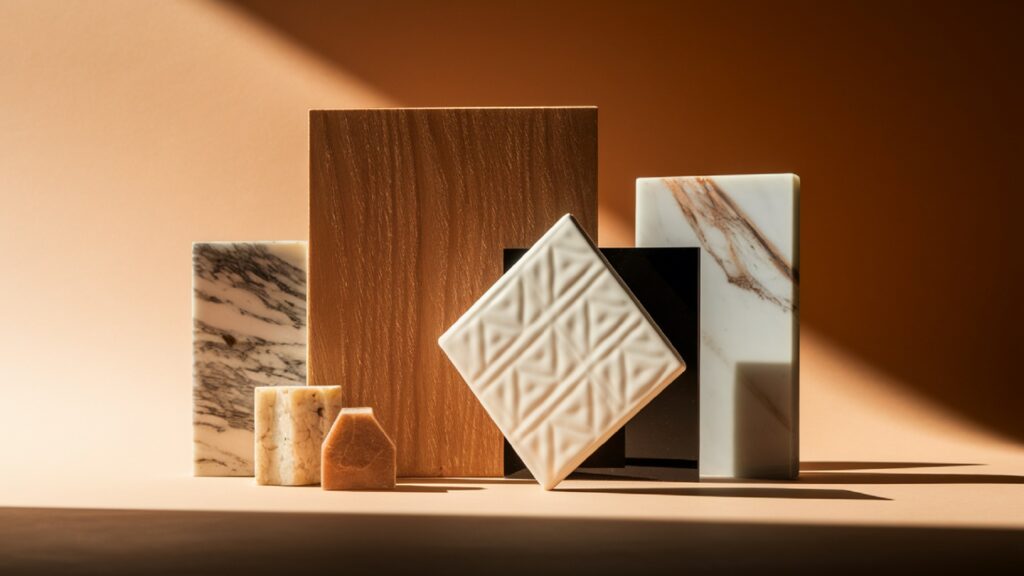
Comparing Ceramic Tile to Other Materials
Understanding how ceramic tile compares to other surface materials can help you make a smarter choice. Below is a breakdown of ceramic tile vs. common alternatives:
| Feature | Ceramic Tile | Porcelain Tile | Vinyl Flooring | Natural Stone |
|---|---|---|---|---|
| Durability | High | Higher | Medium | High |
| Water Resistance | Moderate–High | Very High | High | Varies (some porous) |
| Cost | $$ | $$$ | $ | $$$$ |
| Ease of Installation | Medium | Harder (denser) | Easy | Hard (professional) |
| Maintenance | Easy | Easy | Very Easy | Moderate |
| Design Variety | Extensive | Limited vs ceramic | Moderate | Natural only |
Verdict: Ceramic tile offers a balance of performnce and affordability, making it a preferred choice for most residential applications.
Maintenance and Cleaning Tips
Once installed, maintaining ceramic tile is relativly easy, but following a routine helps maximize longevity and appearance.
Daily & Weekly Maintenance:
- Sweep or vacuum regularly to remove grit and dust.
- Mop with warm water and mild detergnt (avoid oil-based cleaners).
- Dry the floor afterward to prevnt streaks or water spots.
Deep Cleaning:
- Use a baking soda and vinegar solution or a tile-safe cleaner.
- Scrub grout lines with a toothbrush or grout brush.
- Rinse thoroughly with clean water to remove any residue.
Sealing:
- Glazed ceramic tiles usually don’t need sealing.
- Unglazed tiles and grout lines should be sealed annually to prevent stains and mildew.
- Always use a sealer specifically designed for ceramic materials.
Want a full maintenance plan? Read our guide on ceramic tile care routines.
Common Mistakes People Make with Ceramic Tile
Even though ceramic tile is beginnr-friendly, DIYers and evn professionals can run into trouble. Avoid these common pitfalls:
1. Skipping Surface Prep
Failing to level or clean the subfloor can lead to cracked tiles or uneven surfaces.
2. Wrong Adhesive or Grout
Using mastic instead of thin-set mortr in wet areas is a mistake. Likewise, unsanded grout in large joints may crack.
3. Incorrect Spacing
Not using spacers leads to uneven grout lines and structurl problems over time.
4. Walking Too Soon
Not allowing 24–48 hours for the tile to cure can ruin your layout and adhesion.
5. Ignoring Expansion Gaps
Tiles expand and contract. Without proper gaps around walls and fixtures, tiles may buckle or crack.
Troubleshooting Ceramic Tile Issues
Even with good planning, issues can arise. Here’s how to solve common problems:
Cracked Tile
- Cause: Poor subfloor, dropped objects, or lack of expansion joints.
- Fix: Remove the damagd tile and replace it. Re-chck underlayment integrity.
Loose Tiles
- Cause: Improper adhesive or insufficient curing.
- Fix: Carefully lift the tile, scrape off the old adhesive, and reapply with proper mortar.
Discolored Grout
- Cause: Moisture, mold, or cleaning agents.
- Fix: Use a grout cleaner or re-grout the area. Apply a sealer after drying.
Case Study: Transforming a Kitchen with Ceramic Tile
To illustrate the real-world impact of ceramic tile, consider the renovation of a mid-century kitchen in a family home.
Project Overview
The homeownrs wanted a fresh, durable, and stylish solution for their kitchen floor and backsplash. They chose large-format glazd ceramic tiles in a soft gray with subtle marble veining to mimic natural stone without the high cost.
Planning & Preparation
- The kitchen floor was stripped down to a level concrete slab.
- Measurements included an extra 10% tile overage for cuts and waste.
- The homeowners consulted with a tile specialist to select grout that matched the tile color for a clean, modern look.
Installation Highlights
- A professional installer laid the floor using high-quality thin-set mortar.
- Large-format tiles require careful leveling with tile leveling clips to avoid lippage (uneven tile edges).
- The backsplash installaton used smallr subway-style ceramic tiles with a contrasting dark grout to add visual interest.
Results & Feedback
- The floor provides a sleek, easy-to-clean surface that hides dirt well.
- The backsplash acts as a design centerpiece, tying in with stainless steel appliances.
- The homeowners report that the ceramic tile floor has held up well to daily family wear, including spills and heavy foot traffic.
DIY Installation Walkthrough: How to Install Ceramic Tile Flooring
If you’re a DIY enthusiast, installing ceramic tile yourself can be rewrding and cost-effective. Below is a detailed step-by-step guide to help you achieve professional results.
Tools and Materials Needed
- Ceramic tiles
- Thin-set mortar
- Grout (sanded or unsanded)
- Tile spacers
- Notched trowel
- Tile cutter or wet saw
- Level
- Rubber grout float
- Sponge
- Measuring tape
- Bucket and mixing paddle
- Knee pads and safety glasses
1: Prepare the Surface
- Remove old flooring and clean thoroughly.
- Ensure the subfloor is level, dry, and structurlly sound.
- If needed, apply a cement backer board for stability and moisture resistance.
2: Plan Your Layout
- Find the center point of the room.
- Dry-lay tiles startng from the center to the edges to avoid awkward cuts near walls.
- Use chalk lines to mark grid lines as guides.
3: Mix and Apply Thin-Set Mortar
- Follow the manufacturer’s instructions to mix mortar to a peanut butter consistency.
- Using a notched trowel, spread mortar over a small area, combing in one direction.
4: Lay Tiles
- Place tiles firmly into mortar, twisting slightly for good adheson.
- Insert spacers between tiles to ensure even grout lines.
- Check the level frequntly and adjust as needed.
5: Cut Tiles to Fit
- Measure and mark tiles where cuts are needed.
- Use a tile cuttr or wet saw to make straight or angld cuts.
- Wear safety glasses during cutting.
6: Allow Mortar to Cure
- Let the tiles set for 24–48 hours before walking on them.
7: Apply Grout
- Remove spacers.
- Mix grout as per instructions.
- Using a rubber float, apply grout diagonally over tiles, pressing into joints.
- Wipe excess grout off tile faces with a damp sponge, rinsing the sponge frequently.
Step 8: Final Cleaning and Sealing
- After grout curs (usually 72 hours), buff tiles with a dry cloth.
- Seal grout if recommended.
Check out this detailed ceramic tile installation video tutorial.
Ceramic Tile Installation Checklist
| Step | Completed (✓) |
|---|---|
| Measure area accurately | |
| Purchase extra tile (10–15%) | |
| Remove old flooring | |
| Level subfloor | |
| Install cement backer board if needed | |
| Dry-lay tiles | |
| Mix thin-set mortar | |
| Apply mortar & lay tiles | |
| Use spacers for grout lines | |
| Cut tiles to fit edges | |
| Allow mortar to cure | |
| Remove spacers & apply grout | |
| Clean excess grout | |
| Seal grout (if required) | |
| Final clean and inspction |
More Tips for a Perfect Ceramic Tile Project
- Work in small sections to prevent mortar from drying out before tiles are placed.
- Keep a wet sponge and a clean water bucket nearby for grout cleanup.
- Label tiles as you cut to avoid confusion later.
- Consider hiring a professional for large-format or intricate patterned tile.
Advanced Ceramic Tile Design Ideas
For homeowners and designrs seeking unique ways to incorporate ceramic tile, it offers a palette of creative options:
1. Mosaic Art and Accent Walls
Small ceramic tiles arranged in mosaic patterns can create stunning visual focal points. Use colorful tiles to design murls, geometric shapes, or intricate patterns on backsplashes and feature walls.
Tip: Mix glossy and matte finishes in mosaics for added depth.
2. Mixing Tile Sizes and Shapes
Combining different tile sizes—like pairing large-format floor tiles with small hexagonal accent tiles—adds texture and interest. Shapes like hexagons, arabesques, or fish scales create a playful, modern vibe.
3. Borders and Inlays
Frame floors or walls with contrsting ceramic tile borders or decorative inlays. This approach brings classic elegance and helps define spaces in open-plan homes.
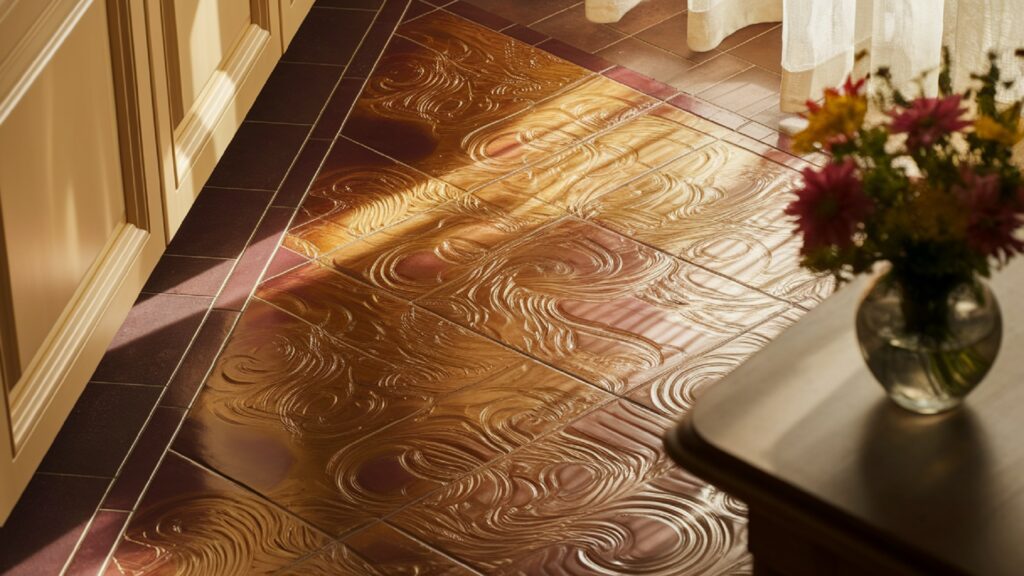
4. Textured and 3D Tiles
Textured ceramic tiles that catch light and shadow can add dimension to a room. These are perfect for statement walls in living rooms, bedrooms, or commercial spaces.
Environmental and Sustainability Considerations
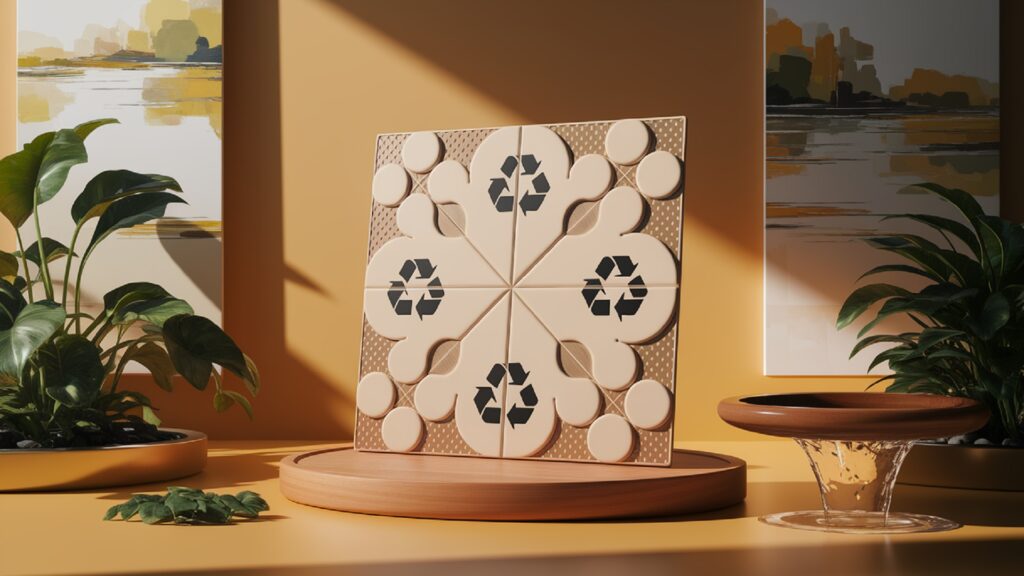
Sustainability is an increasingly importnt factor in material choices. Ceramic tile scores well here:
- Natural Materials: Made primarily from clay, a natural and abundant resource.
- Low Waste Production: Modern manufacturing optimizes material use and recycles scrap tiles.
- Durability: Its long lifespan reduces the need for replacement.
- Energy Efficient: Ceramic tile’s thermal mass can improve home energy efficiency by storing heat or coolness.
- Recyclability: End-of-life tiles can be crushed and reused in construction aggregate.
Many manufacturers now offer eco-friendly ceramic tiles mad with renewable energy and reducd emissions. When choosing tiles, look for certifications such as GREENGUARD or FloorScore, which indicate low emissions and environmental impact.
Grout Selection and Color Psychology
Choosing the right grout enhances both the appearance and performance of your ceramic tile installation.
Types of Grout
- Sanded Grout: Contains sand particls, used for grout lines wider than 1/8 inch.
- Unsanded Grout: Smoother, ideal for narrow joints and vertical surfacs.
- Epoxy Grout: Highly durable and stain-resistant, but harder to apply.
Color Choices and Effects
- Matching grout (similar color to tile) creates a seamless, expansive look.
- Contrasting grout highlights tile patterns and shapes, adding drama.
- Light grout colors brighten spacs but may show dirt more easily.
- Dark grout colors hide stains but can make spaces feel smaller.
Psychology tip: Warm grout tones (beiges, browns) evoke coziness; cool tones (greys, blues) convey calm and modernity.
Expanded FAQs About Ceramic Tile
Can I install ceramic tile over existing flooring?
Yes, ceramic tile can often be installed over vinyl, concrete, or even certain types of tile, provided the existing surface is level, clean, and stble. However, some substrates may require additional preparation or removal to ensure adhesion.
What is the best way to clean grout stains?
For routine cleaning, a mixture of baking soda and water scrubbed with a toothbrsh works well. For tough stans, use a commercial grout cleaner or a diluted bleach solution, always testing in a small area first.
Are ceramic tiles suitable for radiant floor heating?
Absolutely! Ceramic tile’s thermal conductivity makes it an excellent choice for floors with radiant heating systms, as it quickly transfers heat and helps maintain even warmth.
How can I prevent ceramic tiles from cracking?
Proper subfloor preparation, use of the right adhesive, spacing for expanson, and professionl installation greatly reduce the risk of cracking. Avoid heavy impacts and temperature extremes.
Is it possible to repair chipped ceramic tiles?
Minor chips can be repaired with epoxy fillers and paint matchd to the tile color. For larger damage, replacing the individual tile is often the best option.
Author Remarks
Ceramic tile offers unmatchd flexibility in design, performance, and sustainability. Whether your project calls for bold mosaics, subtle textures, or practical flooring solutions, ceramic tile is a durable and attractve choice.
Choosing the right tile, adhesive, grout, and installation methods ensures your project looks beautiful and lasts for decdes. Plus, with low maintenance and eco-friendly benfits, ceramic tile remains a top contender in modern architecture and design.
1 Comment