
Introduction of Bathroom Tile Tiles
Bathroom tile tiles are the foundation of both functionality and style in any bathroom remodel or new build. Choosing the right tile can dramatically affect the look, feel, and long-term durability of your space. We’ll delve into materials, installation methods. Here are some importnt aspects to consider: maintenance tips, design trends, cost considerations, and more.
Explore the bathroom tile tiles from every angle—starting with what they are, moving through design inspiration, and finishing with pro advice to help you avoid pitfalls. We’ll include real‑life exampls, professional insights, and complete installation checklists. Whethr a DIY enthusiast or hiring a pro, this is your one‑stop resource for bathroom tile tiles.
What are Bathroom Tile Tiles?
When we talk about bathroom tile tiles, we mean the individual pieces—ceramic, porcelain, glass, natural stone, and more—that create a cohesive surface on your bathroom walls and floors. Put simply, they’re the building blocks of your bthroom aesthetic and performance.
Core Material Types
- Ceramic: Made from clay and kiln-fired. It’s cost-effective, easy to clean, and widely available. Floor versions are denser; wall tiles are thinner and often more decorative.
- Porcelain: Densr and less porous than standrd ceramic. It’s tougher and ideal for high-moisture environments like showers and floors.
- Glass: Offrs a sleek, luminous finish—perfect for backsplashs or accent strips. Glss tile is prone to chipping, so installation must be precise.
- Natural Stone: Options include marble, travertine, slate, and more. These bring luxurious, earthy textures but need proper sealing and maintenance.
- Cement & Encaustic: Beautiful hand‑crafted patterns that are porous and require sealing. Often used as accents.
Construction & Grout
The tiles need grout, cementitious or epoxy, to seal seams and prevent moisture infiltration. Waterproofig membrane adds an extra layer of protection. These layers form the system behind every set of bathroom tile tiles.
Benefits of Bathroom Tile Tiles
Bathrooms endure water, heat, soap, and constant use. Using bathroom tile tiles brings many advantages:
- Long‑Term Durability: Modern tiles, especially porcelain and well-sealed stone, can last decades with minimal wear.
- Water Resistance: Tiles and grut, when properly installed, form a barrier against leaks and moisture damage.
- Hygiene & Cleanability: Smooth tiles resist stains, mildw, and mold—great for hygiene. Regular cleaning keeps them looking new.
- Design Flexibility: Tiles come in any shape, size, color, and pattern—including mosacs, large-format slabs, and geometric styles.
- Home Value Boost: A quality tiled bathroom appeals to buyers and can add resale value.
- Cost Range: Options exist for every budgt, from budget ceramic to upscale marble.
Bathroom tile tiles can transform a compact space into a luxurious retreat. They allow homeownrs to create unique designs—like feature walls or contrastng borders—without sacrificing function.
How to Use Bathroom Tile Tiles Effectively
Making the most of bathroom tile tiles involves careful planning and smart execution:
- Define Your Goals and Style
Begin with purpose: Are you going for spa‑like serenity or bold design flair? Choose materials accrdingly—porcelain for durability, stone for elegance, glass for shine. - Select the Right Size and Format
- Large-format tiles make small bathrooms feel larger.
- Mosaic or subway tiles create visual interest and grip in showers.
- Establish a Color Palette
A coherent palette—neutral walls with accent strips—creates balance. You might choose a grayscale base with a pop of jewel-toned mosaic. - Texture and Finish Balance
Matte floor tiles aid trction. Glosy wall tiles reflect light. Mix finishes to avoid slips while maximizing brightness. - Plan for Accents and Borders
A row of patterned tiles or metallic accent strips can elevate a basic layout into a designer finish. - Ensure Proper Waterproofing
Use waterproof membranes and quality grout/sealer—especially in showers and wet zones. - Hire or DIY Smartly
Tiling is a skilled job. Measure carefully, let adhesive set, and use spacers for even lines. When in doubt, consult a licensed installer.
Check our DIY bathroom upgrade guide.
See how professionals install watrproofing at the National Tile Contractors Association website.
Common Mistakes People Make
Even small errors with bathroom tile tiles can cause big issues. Here are mistakes to avoid:
- Picking glossy floor tiles that get slippery.
- Skipping a waterproof membrane.
- Choosing grout that clashes or stains.
- Using unsealed naturl stone.
- Relying on wall tiles for flooring.
Short sentences make these warning clear. Avoid them to keep your bathroom beautiful and functional.
Latest Trends in Bathroom Tile Tiles
Bathroom tile tiles are constantly evolving, and bring severl exciting trends in design, texture, and technology. Staying up-to-date with these trends helps you make decisions that are not only stylish but also forward-thinking and functional.
1. Oversized Tiles for Modern Appeal
Large-format tiles (24″x48″ and beyond) continue to dominate. They reduce grout lines, creating a clean and seamless appearnce. These are especially popular for shower walls and open-concept bathrooms.
2. Nature-Inspired Finishes
Textures that mimic wood, marble, and stone are in demand. These offer the look of natural materials with the durability of porcelain. Matte finishes and earthy tones are leading the charge in this style shift.
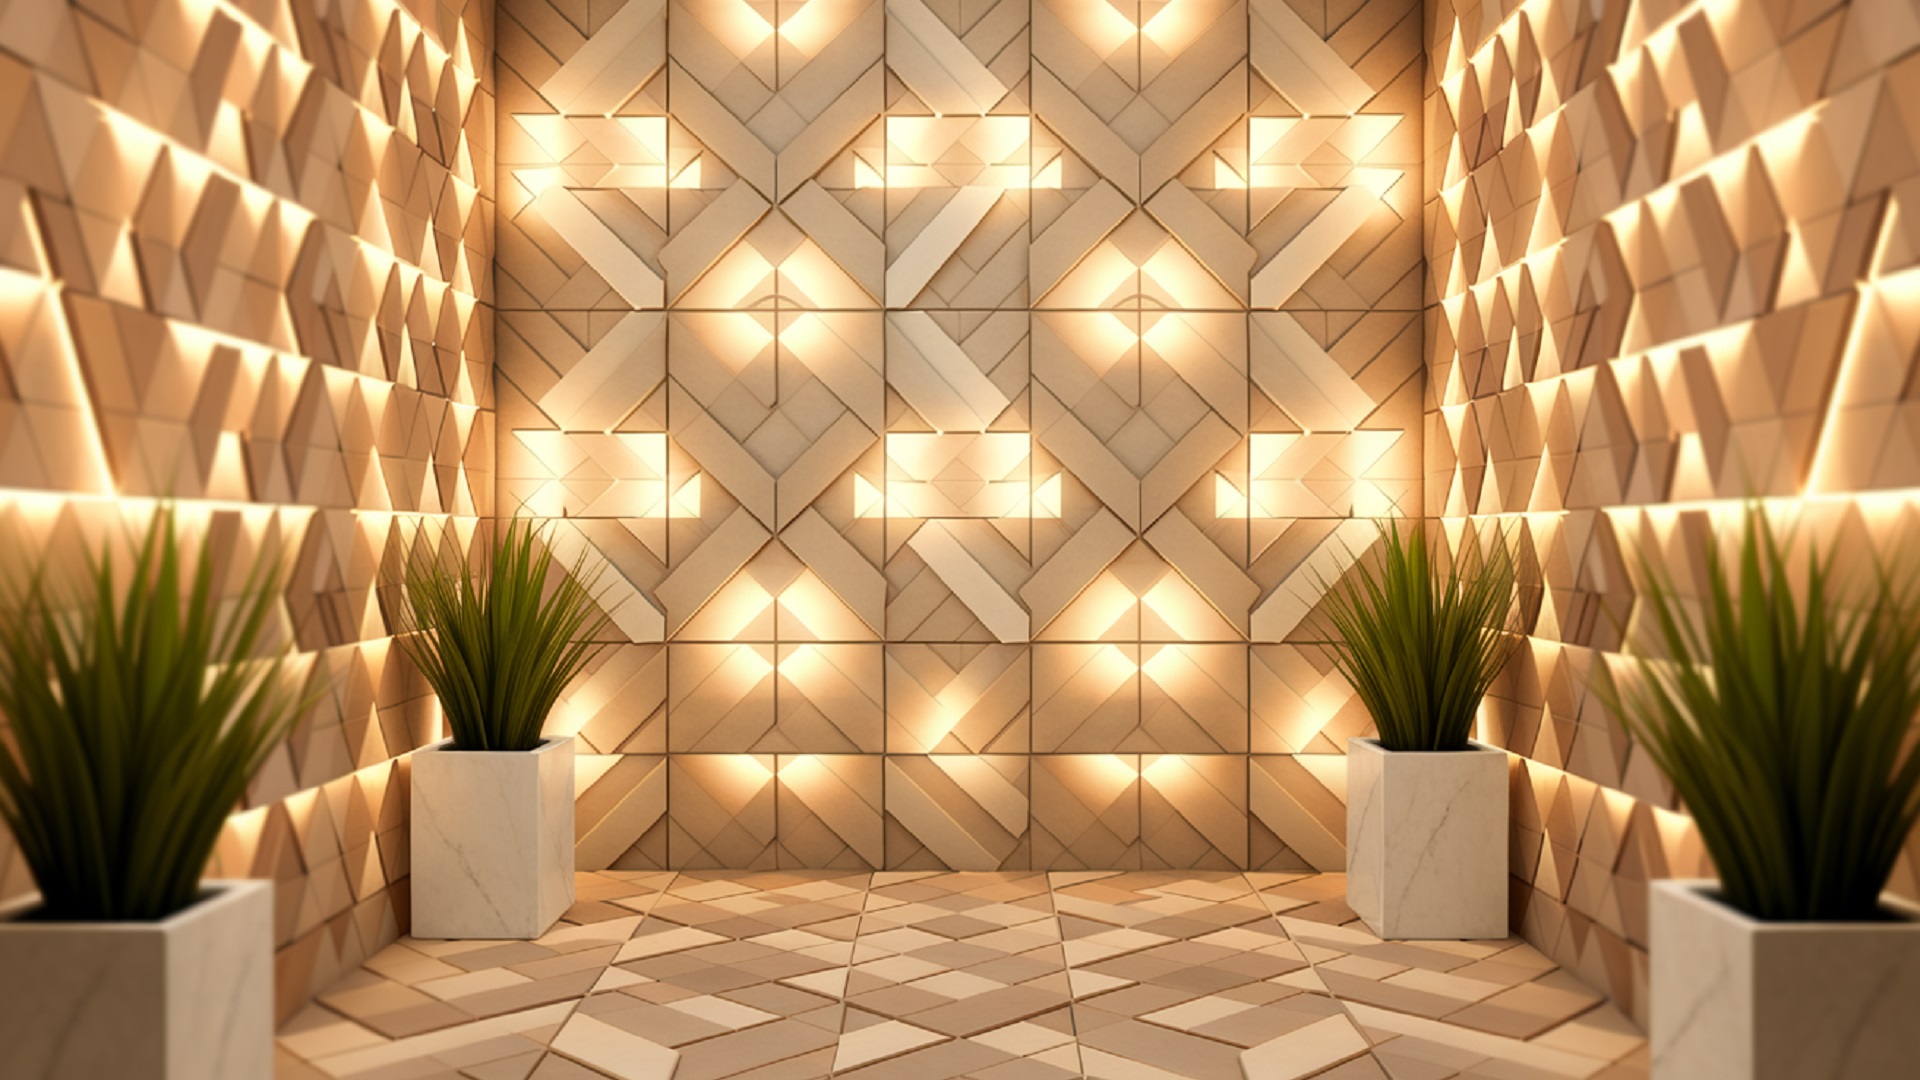
3. Geometric Patterns
Hexagons, chevrons, and 3D tiles bring energy to othrwise neutral spaces. Geometric bathroom tile tiles are often used on featur walls, behind mirrors, or as flooring centerpieces.
4. Terrazzo Comeback
Mde with chips of marble, glass, or quartz, terrzzo-style tils are back in fashion. They’re durable, colorful, and work well in modern or retro-themed bathrooms.
5. Metallic Accents
Metallic glazes and brass inlays add sophisticatin. Gold or bronze finishes work particularly well with dark tiles, providing a luxurious contrast.
6. Sustainable Options
Eco-friendly tiles made from recycled materials are gaining traction. Look for certifications that prove environmental responsibility without sacrificing style or strength.
In addition to these style choices, modern bathroom tile tiles are smarter. Some are even infused with antibacterial technolgy or built-in slip resistance—perfect for families or aging-in-place designs.
Cost Breakdown: Budgeting for Bathroom Tile Tiles
The cost of bathroom tile tiles varies depending on size, material, design, and labor. Planning your budget carefully ensurs your project stays on track without surprises.
1. Material Costs (Per Square Foot)
| Tile Type | Low-End | High-End |
|---|---|---|
| Ceramic | $1.00 | $5.00 |
| Porcelain | $3.00 | $10.00 |
| Glass | $7.00 | $20.00 |
| Natural Stone | $6.00 | $30.00+ |
| Cement/Encaustic | $10.00 | $25.00 |
2. Installation Costs
- DIY installation: $0 if you already own tools, but time-intensive.
- Professional installation: $8–$20 per square foot (includes labor, adhesives, and grouting).
Pro Tip: Installing large tiles may cost more due to the precision and weight involved.
3. Additional Expenses
- Waterproofing membrane: $1–$3/sq. ft.
- Grout and sealer: $0.50–$2/sq. ft.
- Tile spacers, leveling systems, trowels: $25–$100 total.
In addition, factor in demolition costs if replacing old tile. This could range from $2–$5 per sq. ft. for removal and disposal.
By planning for all these expenses up front, you avoid unexpected costs and can prioritize where to splurge or save.
Maintenance Tips for Long-Lasting Bathroom Tile Tiles
Proper maintenance keeps your bathroom tile tiles looking beautiful for years. Fortunately, tile is low-maintenanc compared to other surfaces, especially if installed correctly.
Daily Care
- Wipe down tiles after showrs to reduce water spots.
- Keep shower doors and curtains open for ventilation.
- Use a squeegee on glass and wall tiles to prevent soap scum buildup.
Weekly Cleaning
- Use pH-neutral cleaners. Avoid vinegar or acids, especially on stone tiles.
- Soft brushes help clean grout without damaging it.
- Don’t forget behind toilets and under vanitis—dust collects there too.
Grout Maintenance
- Reseal grout every 6–12 months, depending on moisture exposure.
- Check for cracking or discolortion, which can indicate moisture seeping in.
Stone Tile Maintenance
- Stone tiles like marble or travertine require sealing with a penetrating sealer.
- Avoid bleach, ammonia, and acid-based cleanrs—they will etch or dull the surface.
Mold & Mildew Prevention
- Ensure good ventilation with a working exhaust fan.
- Use mildew-resistant grout and caulking in high-moisture areas.
Routine care saves money in the long run by avoiding costly repairs or full tile replacements. Well-maintained bathrom tile tiles add to the beauty and hygiene of your space.
Design Inspiration: Creative Ways to Use Bathroom Tile Tiles
Want to get creative? Here are imaginatve ways to make your bathroom tile tiles stand out without breaking your budget.
1. Floor-to-Ceiling Feature Wall
Tiling one entire wall verticlly draws the eye upward and adds a spa-like touch. Consider a contrasting color or mosaic pattern.
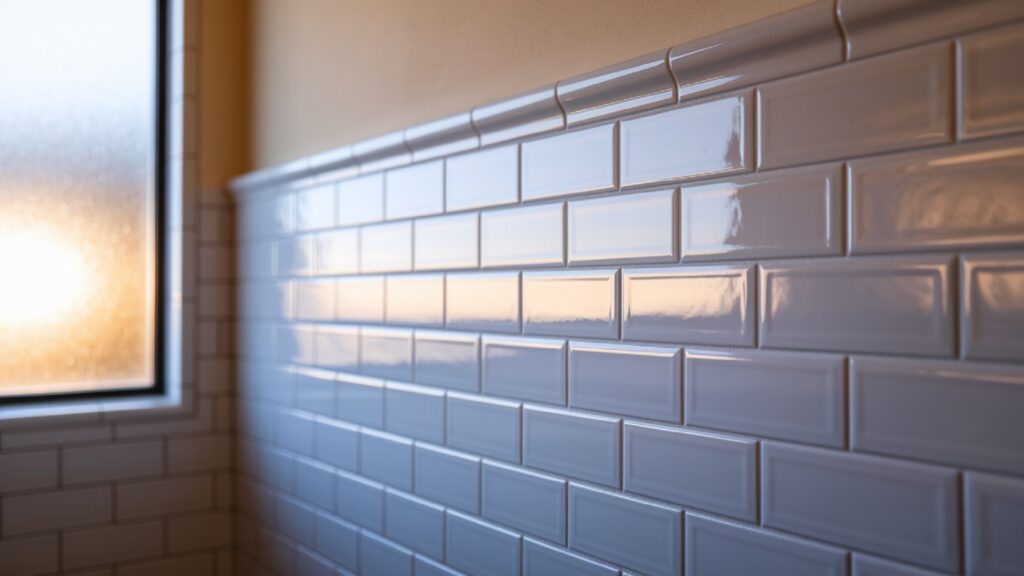
2. Half-Tiled Walls (Wainscoting Effect)
Perfect for vintage or transitional bathrooms. Use subway tiles up to chair rail height and paint the upper walls.
3. Inlay Patterns on the Floor
Use contrasting tile borders to define spaces. For example, frame a tile “rug” in front of the vanity.
4. Color Blocking
Use tiles in two bold colors to create geomtric divisions. Works well with square or rectangulr tiles.
5. Textured Niches
Create recessed niches in showers or above tubs, finished with textured tiles or glass mosaics. Add lighting to highlight them.
6. Mixed Finishes
Combine matte tiles on floors with glossy tiles on walls. This not only provides grip but also plays with light and shadows.
7. Use Unconventional Shapes
Try fish scale tiles, herringbone layouts, or chevrons. These shaps break away from traditional grids and add movement.
Step-by-Step Installation Guide for Bathroom Tile Tiles
Installing bathroom tile tiles correctly is essential to ensure water resistance, durability, and aesthetics. Below is a detaild guide that covers the entire process, whether you’re a skilled DIYer or working with a contractr.
Tools and Materials You’ll Need:
- Tile cutter or wet saw
- Notched trowel
- Tile spacers and leveling clips
- Rubber grout float
- Mixing bucket and drill paddle
- Thin-set mortar or tile adhesive
- Grout (sanded or unsanded)
- Waterproof membrane or backer board
- Silicone caulk (for corners and edges)
- Measuring tape, chalk line, sponge
Step 1: Surface Prep and Planning
First of all, measure your bathroom’s floor and wall dimensions to calculate tile quntity. Always purchase 10–15% extra for cuts, waste, and future repairs.
- Remove old tiles or coverings.
- Clean the subfloor or wall surface completely.
- Repair uneven surfaces—flatness is key.
- Apply cement backr board or waterproof membrane on walls and floors.
Pro Tip: Dry-lay the tiles to plan the layout. Start from the center or the most visible wall and work outwards.
Step 2: Mixing and Applying Thin-Set Mortar
- Use a bucket and drill mixer to prepare mortar to a peanut butter-like consistency.
- Using the flat side of a notched trowl, spread a thin layer on a small section of the surface.
- Then, comb the mortar with the notched edge to form ridges.
Avoid: Applying too much mortr at once—work in small sections to prevent drying out.
Step 3: Laying the Tiles
- Press each tile into the mortar with a slight twist to ensure full contact.
- Place tile spacers between tiles to maintain even grout lines.
- Use a level regularly to ensure an even plane across tiles.
- For large-format tiles, use tile levling clips to prevent lippage.
Allow the tiles to cure for 24–48 hours before walking on the floor or applying grout.
Step 4: Cutting Edge and Corner Tiles
- Use a wet saw or tile cuttr to shape tiles around obstacles like outlets, corners, and pipes.
- Wear safety goggles and gloves for protection.
- Edge tiles should be placd with equal spacing and smooth cuts.
Precision tile cuts in our guide on advanced tiling techniques.
Step 5: Grouting the Tile Lines
- Remove spacers once the adhesive is fully cured.
- Mix grout and apply with a rubber float, holding it at a 45° angle.
- Press grout deep into joints and remove excess with the float’s edge.
- Wait 15–30 minutes, then clean the haze from tiles with a damp sponge.
Let the grout cure for 24 hours. Then, apply grout sealer to protect it from staining and water damge.
Step 6: Finishing Touches
- Caulk corners and transitions using silicone sealant, especially between walls and floors.
- Clean the entire surface, polish tiles, and inspect for flaws.
- Add trim or edge profiles for a professional look.
Once completed, allow everything to dry completely before using the bathroom again.
Choosing the Right Contractor for Bathroom Tile Tiles
If you’re not confidnt in DIY tiling, hiring a professional can save time, money, and frustration. Choosing the right contractor ensures your bathroom tile tiles are installed perfectly.
How to Choose:
- Look for Experience: Ask how many bathrooms they’ve tiled in the last year.
- Check References and Reviews: Use platfrms like Yelp, Angi, or Houzz.
- Get Multiple Quotes: Compare labor costs and what’s included (e.g., materials, removal, waterproofing).
- Ask About Certification: Professionls certified by the National Tile Contractors Association (NTCA) or CTEF have proven skill.
Questions to Ask:
- What prep work is included?
- Do you handle waterproofing and sealing?
- How long will the job take?
- What warranty do you offer?
Always review a contract before signing. It should include payment schedules, a timeline, materials used, and cleanup plans.
Hiring a reputable pro often leads to fewer rpairs, better longevity, and better resale value.
Bathroom Tile Tiles vs. Other Bathroom Materials
While bathroom tile tiles are popular, other materils like vinyl, acrylic panels, or concrete also compete for attntion. Here’s how tile stacks up.
| Feature | Bathroom Tile Tiles | Vinyl Panels | Acrylic Sheets | Polished Concrete |
|---|---|---|---|---|
| Durability | ★★★★★ | ★★★☆☆ | ★★★★☆ | ★★★★☆ |
| Water Resistance | ★★★★★ | ★★★★☆ | ★★★★☆ | ★★★★★ |
| Design Variety | ★★★★★ | ★★★☆☆ | ★★☆☆☆ | ★★☆☆☆ |
| Maintenance | ★★★★☆ | ★★★★★ | ★★★★☆ | ★★★☆☆ |
| Cost (Overall) | Moderate–High | Low | Medium | High |
In addition to aesthetic variety, tiles allow for full customization. While acrylic and vinyl are easier to install, they rarely offer the same design flexibility or premium appeal.
FAQs About Bathroom Tile Tiles
What’s the difference between wall and floor bathroom tile tiles?
Wall tiles are typically thinner, lighter, and more decorative. Floor tiles are thicker, more durable, and often slip-resistant to handle foot traffic and water exposure.
Can I use bathroom tile tiles on the ceiling?
Yes, especially in showrs. Use lightweight tiles and strong adhesive. A tiled ceiling helps with water control and adds a luxurious feel.
Are bathroom tile tiles eco-friendly?
Many brands now offer tiles made from recycled materials. Porcelain tiles are also environmntally friendly due to their long life and low maintenance.
What causes tile cracking after installation?
Poor subfloor preparation, impropr adhesive use, or structural movement. Always ensure a level surface and use flexible mortar for areas with expansin risk.
What is rectified tile, and is it better?
Rectified tiles are machine-cut for precise edges, allowing for thinner grout lines. They’re ideal for a sleek, modern look but require careful installation.
Author Remarks :
Bathroom tile tiles remain the top choice for modern, stylish, and durable bathroom surfaces. They offer unmatchd flexibility in design, texture, and color, while ensuring your space remains water-resistant and easy to clean.
From classic ceramics to cutting-edge large-format porcelain, bathroom tile tiles suit every style and budget. Whether you’re upgrading a powder room or creating a luxury master suite, proper installatin and planning will ensure the results last for decades.
We’ve explored tile types, trends, installatin methods, and common pitfalls—equipping you with the knowledge to make confident choices. Always invest in quality materials, prepare your surface properly, and never underestimate the power of good design.
So whethr you’r takng on a full renovation or simply replacing a shower wall, choosing the right bathroom tile tiles will transfrm your spce, and increase the value of your home.
1 Comment