
Introduction to Stone Backsplash
Stone Backsplash is quickly becoming one of the most popular design choices for homeowners looking to combine style and practicality in their kitchens and bathrooms. A stone backsplsh offers a unique blend of natural beauty, durability, and versatility that few other materials can match. Whether you’re renovating your kitchen or updating your bathroom, incorporating a stone backsplash can dramaticlly elevate your space’s look and feel. We’ll explore everything you need to know about stone backsplashs — from what they are and their benefits, to how to install and maintain them properly.

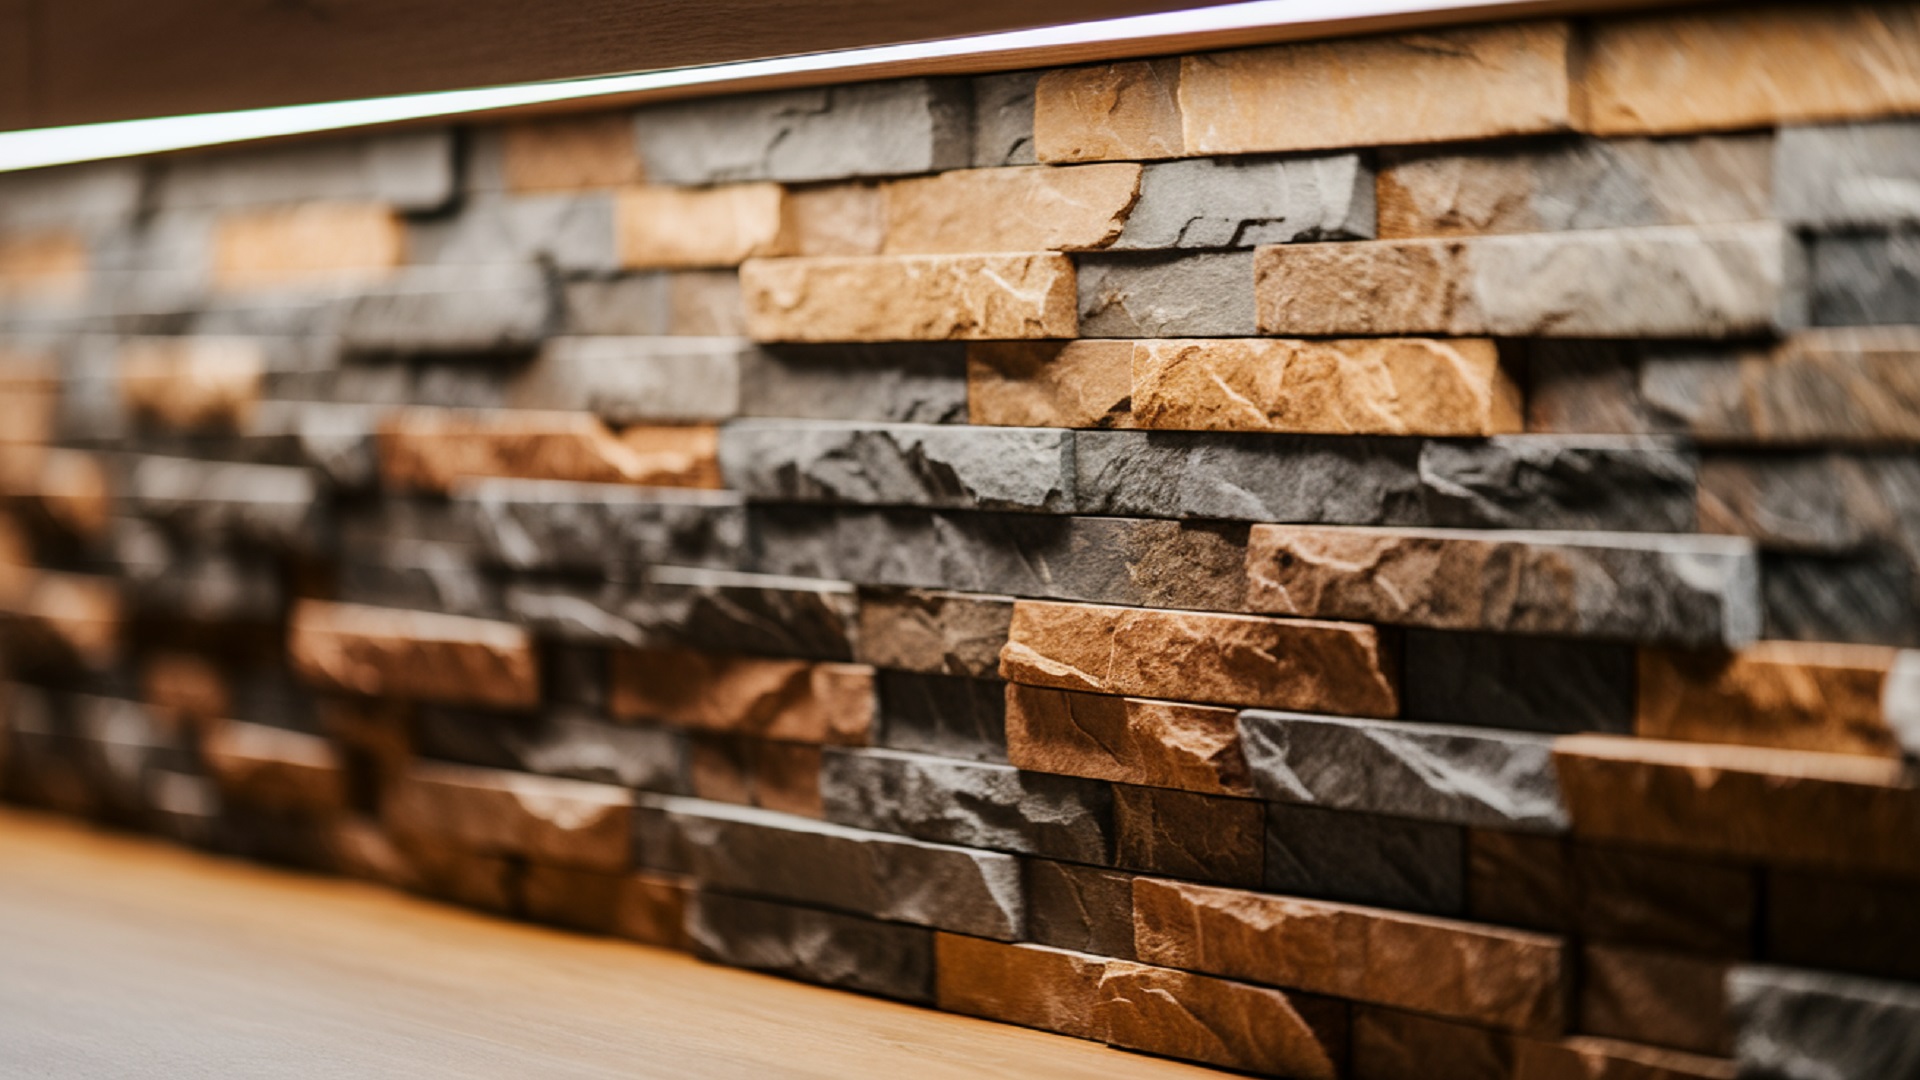
What is Stone Backsplash?
A stone backsplash is a wall covering made from natural or engineered stone materials that is typically installed on the wall behind sinks, stoves, or countertops. Its primary purpose is to protect the wall from moisture, stains, splashes, and heat, which are common in kitchen and bathroom environments. Unlike standard tiles or painted walls, a stone backsplash provides a rugged, textured surface with exceptionl longevity. Also Visit This ( Wood Tile )
There are various types of stones used for backsplashes, each with distinct characteristics:
- Granite: Known for its toughness and resistance to heat and scratches.
- Marble: Offers elegant veining and a luxurious appearanc, but is softer than granite.
- Slate: Brings a rustic charm with its layered texture and natural dark hues.
- Travertine: Adds warmth with its porous, earthy look, but requires more sealing.
- Quartz (Engineered Stone): Provides consistncy in color and pattern and is low maintennce.
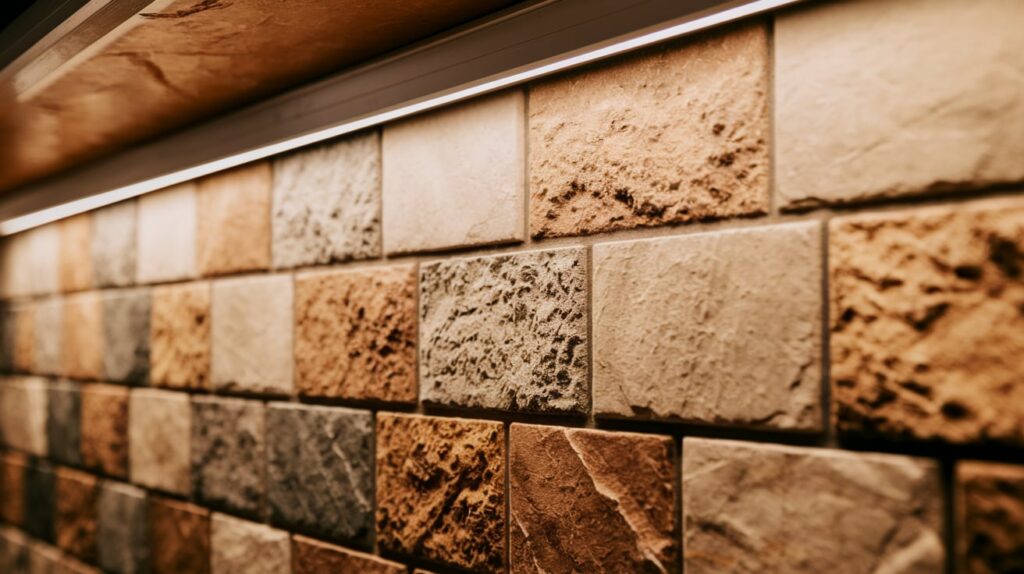
Stone backsplashes come in differnt finishes, such as polished, honed, or rough-hewn, allowing homeowners to choose a look that best suits their overall design style.
Benefits of Stone Backsplash
The opting for a stone backsplash brings a variety of benefits that make it a smart investment for your home:
- Durability and Longevity: Stone backsplashes are extremely tough and can withstand heat, water, and impacts better than many other materials. This makes them ideal for busy kitchens.
- Unique Aesthetics: Each stone slab or tile is one-of-a-kind with natural patterns and colors. This uniqueness adds character and charm to your home décor.
- Easy Maintenance: Stone backsplashes can be cleaned with simple soap and water, requiring less frequent upkeep than grout-heavy tile backsplashs.
- Increase Home Value: Installing a stone backsplash can boost your home’s resale value by adding an upscale touch to your kitchen or bathroom.
- Versatility: Stone backsplashes complemnt many interior design styles, from rustic farmhouse to sleek contemporary kitchens.
- Heat Resistance: Stone naturally resists heat, making it safer to place behind stoves or ranges.
- Eco-Friendly Options: Many natural stones are sustainbly quarried and can be recycled, reducing environmental impact.
Stone backsplashes offer flexibility in design. You can mix stone with other materials, such as glass or metal accents, to create stunning feature walls or backsplashes that stand out.

How to Use Stone Backsplash Effectively
To maximize the benefits and aesthetic appeal of a stone backsplash, it’s important to follow these practical steps:
- Select the Right Stone: Evaluate your space’s needs—consider durability, color palette, and finish. For example, granite is excellnt for heavy-use kitchens, while marble suits lighter-use areas.
- Accurate Measurement: Precise measurements ensure that you purchase the right amount of stone and minimize waste.
- Proper Wall Preparation: The wall must be clean, dry, and flat to ensure the stone adheres properly and lasts long.
- Professional Installation: Stone can be heavy and difficult to cut. Hiring professionals ensures a smooth, secure installation and prevnts costly mistakes.
- Seal the Stone: Applying a quality sealant protects against moisture, stains, and bacterial buildup.
- Match or Contrast with Countertops: Coordinate your stone backsplash with countertops for a harmonious kitchen design, or create bold contrast for a striking look.
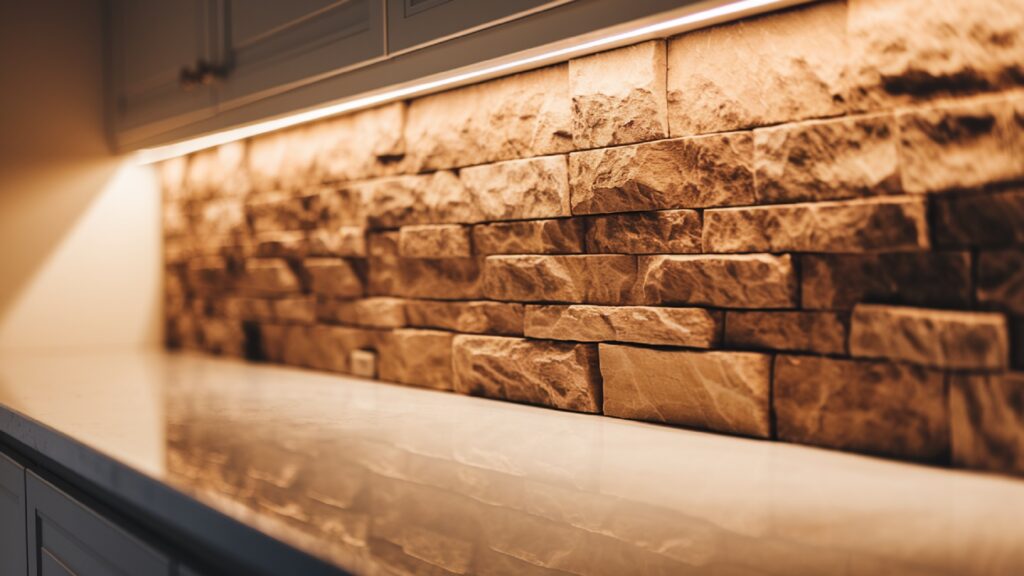
- Plan Lighting: Adding under-cabinet lighting highlights the natural texture and beauty of your stone backsplash.
For further inspiration and design ideas, explore our kitchen design trends and visit trusted sources like the National Kitchen & Bath Association.
Common Mistakes People Make
Many homeowners make avoidable mistakes when choosing or installing a stone backsplash. Here are the most common errors to watch out for:
- Ignoring Stone Porosity: Some stones, like travertine and marble, are porous and prone to staining if not proprly sealed.
- Skipping the Sealant: Without sealing, natural stone can absorb oils, water, and dirt, leading to discoloration.
- DIY Installation Without Experience: Stone installatin requires precision and the right tools; inexperienced DIY can lead to cracked or uneven backsplashes.
- Not Preparing the Wall Properly: Uneven or dirty walls cause stone tiles to lift or not adhere correctly.
- Overlooking Color Coordination: Choosing stone colors that clash with cabinets or countertops can disrupt the overall aesthetic.
- Not Considering Maintenance: Some stones require more upkeep—knowing this beforehnd prevents future frustration.
Detailed Installation Tips for Stone Backsplash
Installing a stone backsplash can be a rewarding DIY project if you have some experience with tiling and masonry work. However, many professionals recommend hiring a skilled installer, especially when working with heavier and more brittle stones like marble or slate. Here are some essential installation tips for anyone considering a stone backsplash:
1. Choose the Right Tools and Materials
Before starting, gather necessary tools like a wet saw with a diand blade (to cut stone), a notched trowel, a level, spacers, and quality thin-set mortar designd for stone tiles.
2. Prepare the Surface Properly
The wall surface must be clean, flat, and dry. Remove old paint or wallpaper. If the surface is drywall, consider installing cement backer board to provide a sturdy base resistant to moisture.
3. Plan Your Layout
Dry-lay the stone tiles or slabs on a flat surfce to plan the layout. This step helps minimize cuts and allows you to select the best parts of the stone for visible areas, enhancing the backsplash’s aesthetic.
4. Apply Adhesive Evenly
Use a notched trowel to spread thin-set mortar evenly on the wall. Press the stone firmly into place, using spacers to maintain consistent grout lines.
5. Cut Stone Carefully
Cutting stone requires precision and the right blade. Always wear safety goggles and gloves, and make sure to wet the stone while cutting to prevent dust and overheating.
6. Grout and Seal
Once the adhesive sets, apply grout between the stones. Choose grout colors that complement the stone. After grouting, clean the surface and apply a penetrating sealer to protect against stains and moisture.
7. Allow Proper Drying Time
Allow at least 24 to 48 hours for adhesive and grout to cure fully before exposing the backsplash to moisture or heavy use.
How to Maintain and Care for Your Stone Backsplash
Stone backsplashes are prized for their durability, but they still require regular care to maintain their beauty. Here’s a detailed maintenance guide:
Routine Cleaning
Wipe down your stone backsplash daily or weekly with a soft cloth or sponge and mild dish soap diluted in warm water. Avoid abrasive cleaners or acidic substancs (like vinegar) that can etch or dull natural stone surfaces.
Sealing
Many natural stones are porous and need periodic sealing to prevent stains and water damage. Depending on the stone type and sealant used, reseal your backsplash once or twice a year. Follow the sealant manufacturer’s instructions for application.
Stain Removal
For stubborn stains, create a paste using baking soda and water, apply it to the stain, cover with plastic wrap, and let sit for 24 hours before wiping clean. Avoid harsh chemicals or bleach that may harm the stone.
Avoid Heat and Impact Damage
Though stone is heat-resistant, avoid placing extremely hot pans directly against the backsplash. Also, take care not to bang heavy pots or utensils on the backsplash to prevent chips or cracks.
Professional Polishing
Over time, polished stone backsplashes may lose their shine. Consider professional polishing every few years to restore the surface’s original luster.
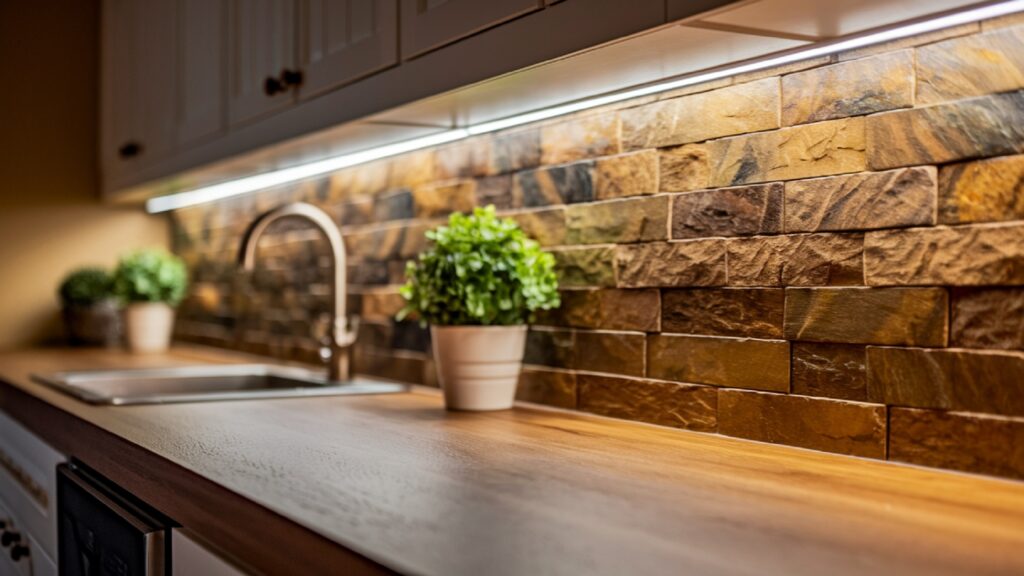
Design Ideas Featuring Stone Backsplash
Stone backsplashes are versatile and can work with many different design aesthetics. Here are some trending ideas to inspire your renovation:
Rustic Farmhouse
Pair a rough-cut slate or travertine backsplash with wooden cabinets and open shelving. This creates a warm, earthy look perfect for country-style kitchens.
Modern Minimalist
Use polished granite or quartz stone in neutral tones like gray or white. Clean lines and minimal grout enhance a sleek, contemporary kitchen.
Mediterranean Style
Incorporate natural travertine or marble with warm beige tones, combind with terracotta floor tiles and wrought iron fixtures for a timeless Mediterranean vibe.
Industrial Chic
Mix rough, dark granite or slate backsplashes with stainless steel appliances and exposed brick walls. This combination balances raw and refined elements beautifully.
Bold Contrast
For a striking effect, install a black or dark-colored stone backsplash behind white or light countertops and cabinetry. This high-contrast look is dramatic yet elegant.
Mixed Materials
Combine stone with other textures like glass tiles, metal accents, or mosaic inserts to create a unique backsplash design.
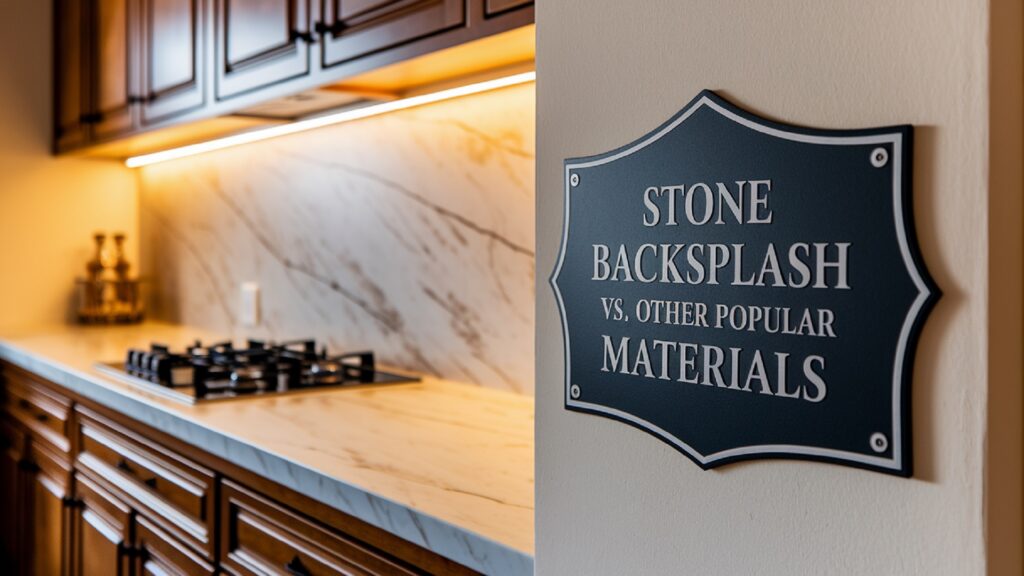
Stone Backsplash vs. Other Popular Materials
When choosing a backsplash, many homeowners wonder how stone compars to other materials. Here’s a brief comparison to help you decide:
| Material | Durability | Maintenance | Cost | Aesthetic | Heat Resistance |
|---|---|---|---|---|---|
| Stone | Very durable | Medium | Moderate-High | Natural, unique patterns | High |
| Ceramic Tile | Durable | Easy | Low-Moderate | Wide variety of colors | Moderate |
| Glass Tile | Moderate | Easy | Moderate-High | Reflective, modern | Moderate |
| Metal Tile | Durable | Medium | Moderate-High | Industrial, sleek | High |
| Subway Tile | Durable | Easy | Low | Classic, simple | Moderate |
Stone backsplashes tend to be more expensive upfront but offer unmatched natural beauty and durability compared to most tile options.
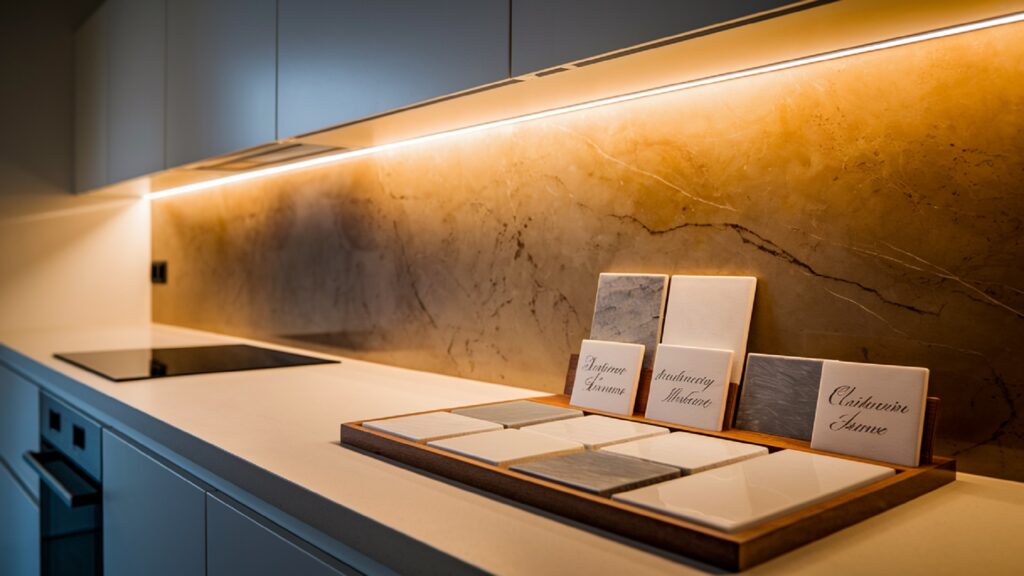
Expert Tips for Choosing Your Stone Backsplash
- Test Samples at Home: Natural light can drastically change how stone colors appear. Always view samples in your actual kitchen or bathroom lighting.
- Consider Edge Profiles: Decid if you want smooth edges, vn bevels, or rough edges based on your design theme.
- Think About Grout: Grout color impcts the overall look. Dark grout can hide stins, while light grout brightens the backsplash.
- Match with Fixtures: Coordinate stone backsplash colors with faucets, cabinet handles, and lighting fixtures for a cohesive look.
- Plan for Cleaning: Lighter stones can show stains more easily, so consider how much maintenance you’re willing to do.
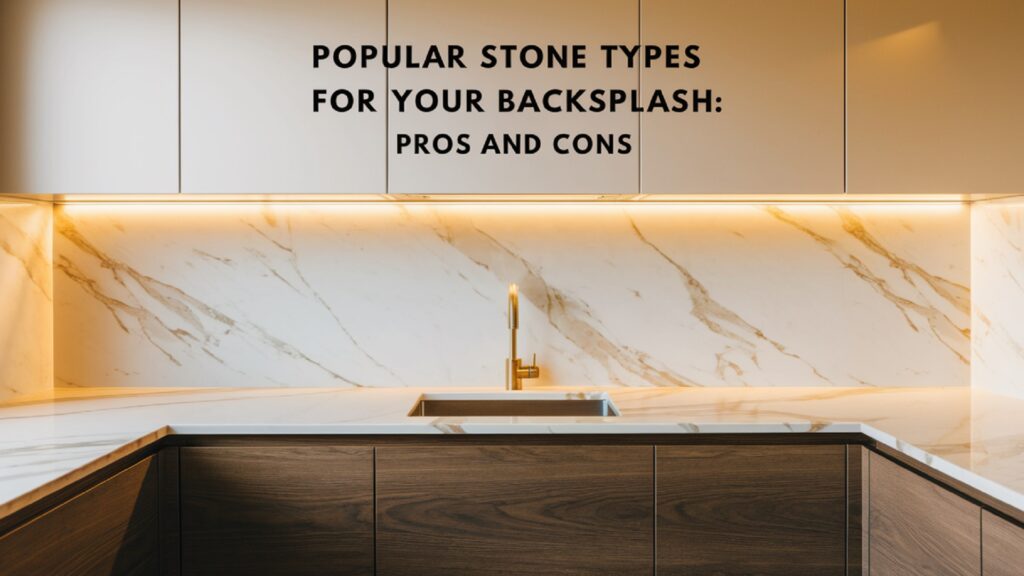
Popular Stone Types for Your Backsplash: Pros and Cons
Choosing the right stone for your backsplash is crucial for both function and style. Below are detailed profiles of the most commonly used stones:
Granite
Pros:
- Extremely durable and heat resistant
- Scratch and stain resistant when properly sealed
- Wide range of colors and patterns
- Adds significant resale value
Cons:
- Can be expensive depending on rarity
- Requires periodic sealing
- Heavy, requiring professional installation
Granite backsplashes are ideal for high-traffic kitchns. Their natural flecks and grains provide a timeless look that complements many countertop materials.
Marble
Pros:
- Luxurious, elegant veining and soft glow
- Cool surface ideal for food prep areas
- Adds upscale appeal
Cons:
- Softer and more porous than granite, prone to scratches and stains
- Requires frequent sealing and gentle cleaning
- Can etch from acidic substances
Marble backsplashes are a favorite for classic or high-end kitchens but need more attentive care to maintain their beauty.
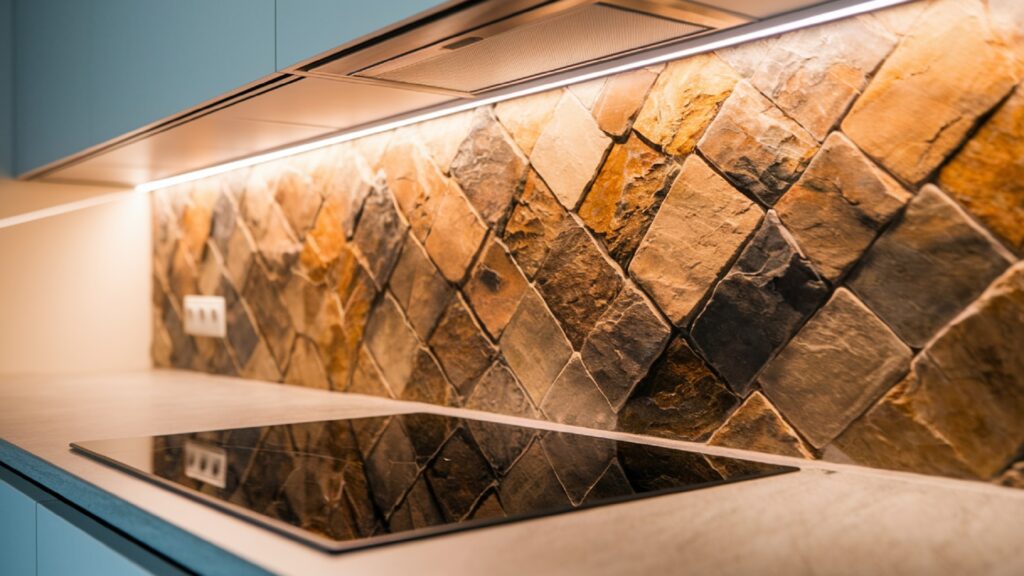
Slate
Pros:
- Rustic, textured appearance with rich, dark tones
- Naturally slip-resistant and heat resistant
- Durable and long-lasting
Cons:
- Can flake or chip if not maintained
- Requires sealing to prevent stains
- Color variation can be unpredictable
Slate backsplashes lend a cozy, earthy vibe and are perfect for farmhouse or industrial designs.
Travertine
Pros:
- Warm, earthy colors with natural pitting and texture
- Adds a Mediterranean or Tuscan feel
- Durable when sealed properly
Cons:
- Porous and prone to staining without regular sealing
- Soft stone, can scratch or chip easily
- Needs maintenance to keep appearance
Travertine is beautiful but better suited for areas with less moisture or splash exposure unless well sealed.
Quartz (Engineered Stone)
Pros:
- Non-porous and highly resistant to stains and scratches
- Consistent color and pattern
- Low maintenance, no sealing required
Cons:
- Can be expensive
- Not heat resistant like natural stone—avoid placing hot pans directly on surface
Quartz backsplashes offer a modern, clean look and are perfect for busy households that want low upkeep.
Cost Breakdown: How Much Does a Stone Backsplash Cost?
The total cost of installing a stone backsplash depnds on multiple factors: stone type, size of the area, labor, and finishing details. Here’s a general price guide:
| Stone Type | Material Cost per Sq. Ft. | Installation Cost per Sq. Ft. | Total Avg. Cost per Sq. Ft. |
|---|---|---|---|
| Granite | $40 – $80 | $30 – $50 | $70 – $130 |
| Marble | $50 – $100 | $40 – $60 | $90 – $160 |
| Slate | $30 – $60 | $25 – $45 | $55 – $105 |
| Travertine | $25 – $50 | $20 – $40 | $45 – $90 |
| Quartz | $50 – $90 | $30 – $50 | $80 – $140 |
Additional costs may include wall preparation, custom cutting, grout, sealant, and removal of existing backsplash.
Tips to save:
- Choose smaller or more common stones.
- Combine stone with less expensve materials like ceramic tiles.
- Do some prep work yourself, like wall cleaning or demolition.
Common Installation Challenges and How to Overcome Them
Heavy Weight and Handling
Stone slabs can be very heavy and fragile. Always use proper lifting techniques and equipment. For large slabs, hire pros with the right tools to avoid injury or damage.
Cutting and Shaping
Stone requires special blades and wet cutting to prevent cracking. Mistakes in cutting are costly, so plan cuts carefully or let a professional handle them.
Uneven Walls
Older homes often have uneven or textured walls. Consider applyng a backer board to create a flat surface that stone can adhere to securely.
Grout Discoloration
Using the wrong grout or improper sealing can cause grout to discolor quickly. Choose a grout color that complements your stone, and seal grout joints if needed.
Matching Patterns
Natural stone has unique veining and color changes. To create a balanced look, dry lay the pieces and plan for pattern flow before installation.
Environmental Considerations of Stone Backsplashes
Choosing natural stone can be an eco-friendly option if sourced responsibly. Many quarries now follow sustainable extraction practices to minimize environmental impact. Additionally, stone is a long-lasting material that reduces the need for frequent replacement, lowering waste over time.
For greener choices, look for certifications like the Natural Stone Council’s sustainability standards. Reclaimed or recycled stone backsplash tiles are also becoming populr for eco-conscious homeowners.
Where to Buy Stone Backsplash Materials
Finding quality stone starts with sourcing from reputable suppliers. Here are some tips:
- Visit local stone yards to see slabs in person.
- Ask about the stone’s origin and sustainability.
- Check reviews of installers or stone fabricators.
- Consider specialty retailers who offer customization services.
Popular national suppliers include Home Depot, Lowe’s, and specialty stone fabricators in your region.

Advanced Care Techniques for Stone Backsplash
While regular maintenance keeps your stone backsplash looking great, here are some advanced techniques to address tougher issues and prolong your backsplash’s lifespan:
Polishing and Honing
Over time, stone backsplashes—especially polished marble and granite—may lose their shine or develop dull spots. Professional polishing restores the surface’s luster by removing minor scratches and surface wear. Honing provides a matte, satin finish if you prefer a less glossy look. Many stone care companis offer these services.
Deep Cleaning
For ingrained dirt or grease buildup, use a pH-neutral stone cleaner designed specifically for natural stone. Avoid harsh chemicals, bleach, or acidic cleaners like vinegar that can etch or dull the stone. Apply the cleaner with a soft sponge, rinse thoroughly, and dry with a microfiber cloth.
Repairing Chips and Cracks
Small chips or cracks can be filled with epoxy or resin products matched to your stone colr. For larger damage, consult a professional stone restoration specialist to avoid worsenig the damage.
Re-Sealing Tips
Sealants penetrate stone pores, preventing stains and moisture absorption. Before resealing, clean the surface thoroughly and allow it to dry. Use a penetrating sealer for the best results and apply evenly using a brush or roller. Avoid surface sealants that create a glossy coating, as these can peel or discolor over time.
DIY Installation Guide for Stone Backsplash
If you’re feeling confident and want to tackle installing a stone backsplash yourself, here’s a step-by-step guide:
Materials Needed
- Stone tiles or slabs
- Thin-set mortar (recommended for natural stone)
- Notched trowel
- Tile spacers
- Grout and grout float
- Sealer and applicator
- Wet saw with diamond blade
- Level and measuring tape
- Rubber mallet
- Safety goggles and gloves
Step 1: Prepare the Wall
Remove any existing backsplash and clean the wall thoroughly. Ensure the wall is flat and dry. If necessary, install cement backer board for stability and moisture resistance.
Step 2: Plan the Layout
Measure the backsplash area carefully. Dry-lay the stone pieces on the floor to plan their placement, minimizing cuts and ensuring pattern consistency.
Step 3: Apply Adhesive
Using the notched trowel, spread thin-set mortar on a small section of the wall. Work in manageable areas to prevent the mortar from drying out.
Step 4: Install the Stone
Press stone tiles firmly into the mortar, using spacers to keep grout lines even. Tap gently with a rubber mallet to ensure adhesion. Use a level frequently to maintain a flat surface.
Step 5: Cutting Stone
Use a wet saw with a diamond blade to make precise cuts for edges and around outlets. Always wear safety gear when cutting.
Step 6: Grouting
After the mortar cures (usually 24 hours), remove spacers and apply grout using a grout float. Press grout firmly into joints and wipe away excess with a damp sponge. Allow grout to dry completely.
Step 7: Sealing
Once grout is dry, apply a penetrating sealer to protct stone and grout. Follow manufcturer’s instructions for best results.
Troubleshooting Common Stone Backsplash Problems
Even with proper care and installation, some issues may arise. Here’s how to handle them:
Stains and Discoloration
- Cause: Oil, wine, or acidic food spills left untreated.
- Solution: Use a poultice paste made from baking soda and water or a commercial stone stain remover. Apply, cover, and let sit for 24-48 hours before wiping.
Loose or Falling Tiles
- Cause: Poor adhesive or uneven wall surface.
- Solution: Remove loose tiles carefully, clean the back and wall, and reapply thin-set mortar properly. Consider professional help for large areas.
Grout Cracking
- Cause: Movement behind the backsplash or improper grout mixing.
- Solution: Remove cracked grout and re-grout using a flexible grout designed for stone.
Etching or Surface Damage
- Cause: Exposure to acidic substances or harsh cleaners.
- Solution: Polish or hone the stone surface to restore its appearance. Avoid acidic products going forwrd.
Glossary of Stone Backsplash Terms
- Backer Board: A cement-based board installed on walls to provide a stable surface for tile or stone installation.
- Epoxy Grout: A highly durable, stain-resistant grout used in stone installations, especially in kitchens and bathrooms.
- Honied Finish: A matte finish on stone that reduces shine and creates a smooth texture.
- Natural Stone: Stone formed by geological processes, such as granite, marble, and slate.
- Penetrating Sealer: A type of sealant that soaks into the stone pores to protect from stains and moisture without creating a surface film.
- Polishing: The process of buffing the stone surface to create a high-gloss, reflective finish.
- Poultice: A paste used to draw stains out of stone surfaces.
- Thin-Set Mortar: A type of adhesive mortar used to attach tile or stone to a substrate.
FAQs About Stone Backsplash
What are the most durable stones for backsplashes?
Granite and quartz are among the most durable, resisting heat, scratches, and stains better than softer stones like marble.
How often should I reseal my stone backsplash?
Typically, resealing is recommnded once a year, but it depends on the stone type and kitchen usage.
Can I clean a stone backsplash with regular household cleaners?
It’s best to use mild soap and water or cleaners specifically designed for natural stone to avoid damage.
Is stone backsplash installation expensive?
Costs vary depending on stone type and complexity, but professional installation is usually an investment worth making.
Author Remarks
A stone backsplash combines aesthetic appeal with practical benefits, making it a top choice for modern kitchens and bathrooms. Its durability, unique natural beauty, and easy maintenance ensure it remains a timeless feature in your home. Whethr you’re opting for granite, marble, or another type of stone, properly selecting, installing, and caring for your stone backsplsh will enhance your space for years to come. Embrace the eleganc and strength of a stone backsplash and elevate your home’s style today.
7 Comments